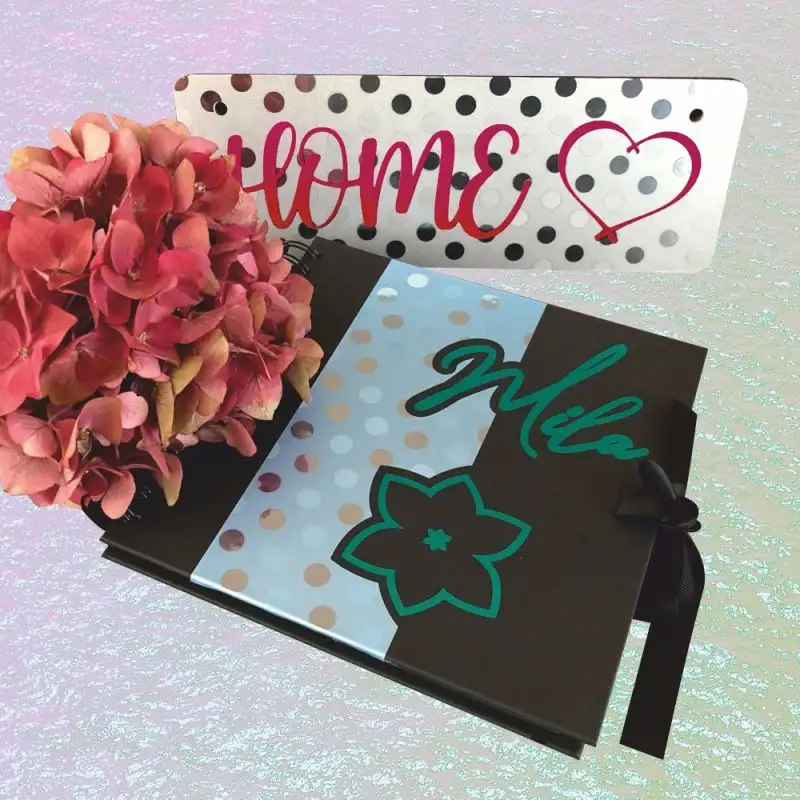
There's a particular satisfaction that comes from weeding a complex design cut from foil plotter film and seeing every sharp corner and smooth curve release perfectly. Achieving this consistently, however, relies on more than just pressing 'print.' Smooth, flawless cuts are the result of a careful dance between the right tools, the correct settings, and a few key techniques. Whether you're a seasoned sign-maker or new to the craft, mastering these elements will transform your results, turning frustrating snags and torn edges into a seamless, professional finish every time.
The Critical Foundation: Choosing the Right Blade and Holder
The journey to a perfect cut begins with the blade itself. Using a blunt or incorrect blade type is the most common cause of cutting issues. For foil films, a 45-degree blade is typically the ideal choice, as its sharper angle is better suited for cutting through the thin, sometimes brittle layers without excessive force. Equally important is the blade holder. Ensure it moves freely and isn't gummed up with adhesive residue from previous jobs. A sticky or sluggish holder will drag and create jagged lines instead of the fluid, precise movements needed for smooth cuts. A clean, sharp blade in a well-maintained holder is your non-negotiable starting point.

Mastering the Art of Blade Pressure and Offset
Think of your blade like a pencil; too much pressure and you'll tear the paper, too little and the line is faint. Blade force works the same way. The goal is to achieve a "kiss-cut" – slicing through the foil and adhesive layers completely but leaving the polyester carrier sheet untouched. Start with the manufacturer's recommended force setting as a baseline. Then, perform a test cut on a small scrap piece. If the film doesn't weed cleanly, increase the force incrementally. If you see cuts in the backing paper, decrease it immediately. This fine-tuning is essential for protecting your plotter mat and ensuring easy weeding.
Optimizing Speed for Complex and Simple Designs
Speed and quality often have an inverse relationship in plotting. While a faster cut time is appealing, high speed is the enemy of intricate detail. When the plotter head moves too quickly around a tight curve or a sharp corner, momentum can cause it to overshoot slightly, resulting in rounded or imperfect points. For designs with fine text, small elements, or complex shapes, slow the cutting speed down significantly. This gives the blade time to cleanly change direction. Reserve higher speeds for large, simple shapes where precision is less critical. Adjusting speed based on the design's complexity is a hallmark of an experienced operator.
The Unsung Hero: Proper Vinyl Weeding
Surprisingly, a smooth cut can be undermined by poor weeding technique. Weeding is the process of removing the excess foil from around your design, and doing it incorrectly can tear even a perfectly cut graphic. The key is to work deliberately. Start by pulling the waste material back on itself at a low, 45-degree angle, rather than pulling straight up. For very intricate sections, use a weeding hook or the tip of a craft knife to gently coax tiny pieces loose. If you find yourself struggling, it might be a sign that your blade force is still slightly too low, preventing a clean cut through the adhesive layer.

Securing Your Material for Flawless Registration
Any movement of the material during the cutting process will result in a registration error, essentially creating a double-cut or a blurred line. Ensure your foil film is securely loaded onto the plotter's grit rollers. For smaller pieces, use low-tack application tape or painter's tape to secure the leading and trailing edges to the plotter mat. A stable material base prevents the film from shifting, ensuring that the blade's path is exactly as the digital file commands, which is absolutely critical for achieving sharp, registration-dependent elements like perforated cuts or layered graphics.
The Essential Final Step: The Test Cut
Never skip the test cut. This simple practice run on a small area of your material is the single most effective habit for preventing wasted time and expensive plotterfolie. A test cut allows you to verify all your settings—blade force, speed, and offset—are perfectly dialed in for that specific roll of film. Material batches can vary slightly in thickness, and environmental factors like temperature and humidity can affect how a film cuts. Taking one minute to perform a test cut and weeding it confirms your setup is correct, giving you the confidence to run the full job knowing it will be perfect from start to finish.


Comments