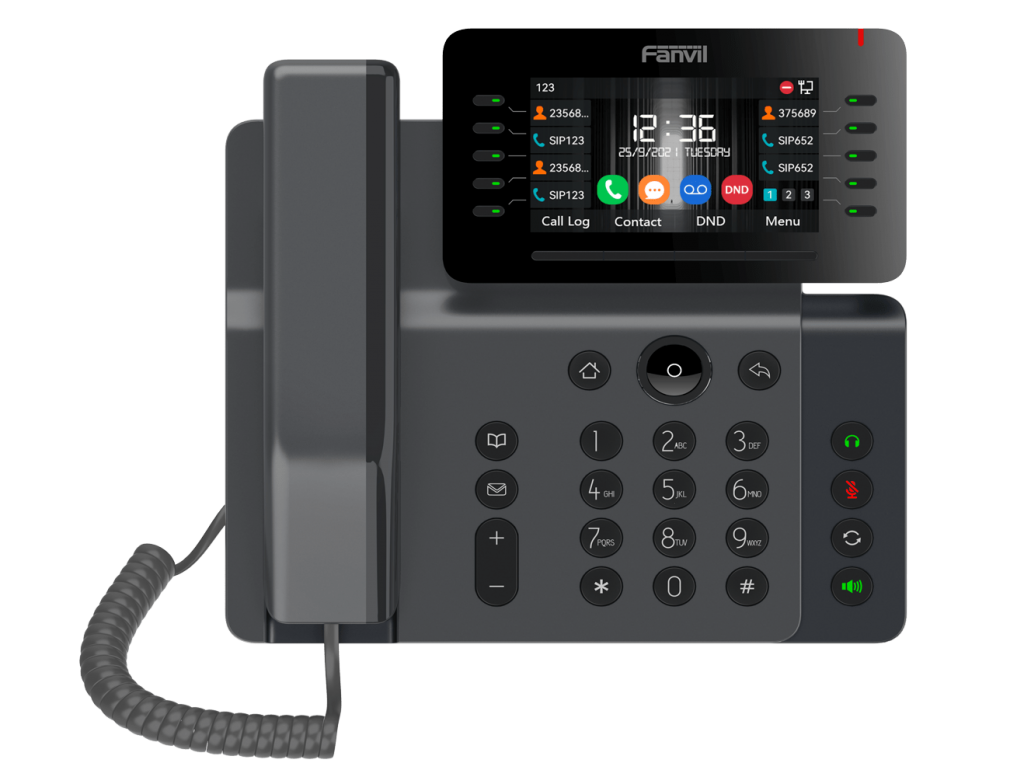
Whether you are installing your Fanvil hotel phone in a business setting, a hotel room, or a front desk, it is a simple process. Fanvil offers a range of IP phones with simplicity and dependability that are ideal for the hotel industry. In this brief tutorial, we’ll guide you through the must-do steps to put your Fanvil hotel IP phone into operation.
Step 1: Connect and Unpack
Examine the phone unit, handset, Ethernet cable, and power adapter (if not utilizing Power over Ethernet, or PoE) when you first unpack your Fanvil IP phone. Attach the phone base to the handset. Next, connect one end of the Ethernet cable to the phone’s LAN port and the other end to a PoE switch or network port.
Step 2: Power Up
If you’re using PoE, the phone will power on automatically. Otherwise, connect the power adapter to a power outlet. The Fanvil phone will boot up and display its main interface.
Step 3: Access the Web Interface
To configure the Fanvil hotel IP phone, you need to access its web interface:
1. Press the “OK” button on the phone to display its IP address.
2. Enter the IP address in a web browser on a device connected to the same network.
3. Log in (default username/password is usually “admin/admin”).
Step 4: Configure SIP Settings
Navigate to the SIP settings section and enter the details provided by your VoIP provider or PBX system, such as:
1. SIP Server Address
2. SIP Username and Password
3. Display Name and Authentication ID
4. Apply the settings and allow the phone to register with the server.
Step 5: Final Checks
Once registered, test the phone by making a call. You can also customize features like speed dial, voicemail, and language preferences.
With this Fanvil IP phone setup guide, you’re ready to enhance communication in your hotel or office. For hotel-specific models, ensure firmware and settings align with hospitality features. The Fanvil hotel IP phone is designed for easy setup and maximum efficiency — just follow these steps, and you’re good to go!


Comments