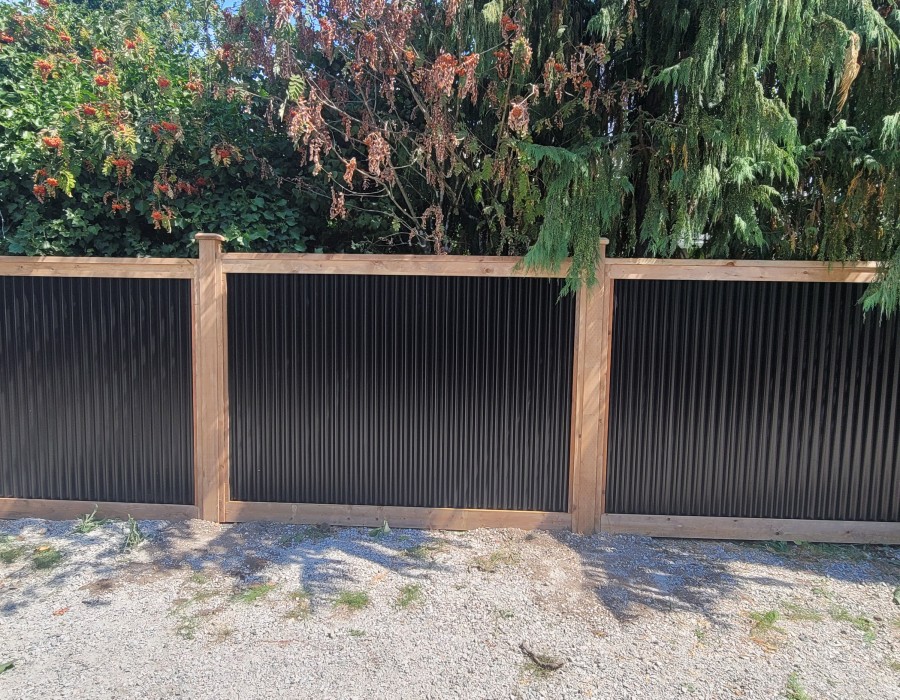
Corrugated metal fences are renowned for their durability, aesthetic appeal, and security benefits. If you're considering installing a corrugated Metal Fence Installation, this comprehensive guide will walk you through the process step by step, ensuring a successful and long-lasting installation.
Understanding Corrugated Metal Fences
corrugated Metal Fence Installation are made from metal panels with ridges and valleys, providing strength and structural integrity. These fences are popular for their modern appearance, weather resistance, and low maintenance requirements, making them a practical choice for residential and commercial properties alike.
Planning Your Installation
Design Considerations
Before starting your installation, consider the design aspects of your fence. Determine the fence height, style (horizontal or vertical panels), and color that best suits your property's aesthetics and functional needs.
Permits and Regulations
Check with your local authorities regarding permits and zoning regulations for installing fences. Ensure compliance with setback requirements and property line restrictions to avoid legal issues later on.
Material Selection
Choose high-quality corrugated metal panels suited for outdoor use. Consider factors such as material (galvanized steel, aluminum), gauge thickness, and panel dimensions based on your specific project requirements.
Tools and Materials Needed
Gather the following tools and materials before beginning the installation:
- Corrugated metal panels
- Fence posts (wood or metal)
- Concrete mix
- Posthole digger
- Level
- Drill/driver
- Screws or fasteners
- Saw (if cutting panels)
- Safety gear (gloves, goggles)
Installation Steps
Step 1: Layout and Marking
- Determine the fence line and mark it using stakes and string.
- Place markers for posthole locations based on panel width and desired spacing.
Step 2: Digging Postholes
- Use a posthole digger to dig holes at each marked location.
- Ensure the holes are deep enough to accommodate one-third of the post height plus an additional 6 inches for gravel or concrete.
Step 3: Installing Fence Posts
- Place the fence posts in the holes and fill them with concrete or gravel for stability.
- Use a level to ensure the posts are plumb and aligned correctly.
Step 4: Attaching Panels
- Attach the corrugated metal panels to the posts using appropriate screws or fasteners.
- Start from one end and work your way across, ensuring panels are evenly spaced and securely attached.
Step 5: Finishing Touches
- Trim any excess panel length if necessary using a saw.
- Apply rust-resistant paint or coating to the panels for added durability and weather protection.
- Add post caps for a finished look and extra protection against water infiltration.
Maintenance and Care
- Regularly inspect the fence for signs of rust, loose screws, or damage.
- Clean the panels with mild detergent and water to remove dirt and debris.
- Apply a fresh coat of paint or rust-resistant coating as needed to maintain appearance and protection.
Benefits of Corrugated Metal Fences
- Durability: Resistant to weather, pests, and corrosion.
- Security: Provides a sturdy barrier and deters trespassers.
- Aesthetics: Modern and sleek appearance enhances property value.
- Low Maintenance: Requires minimal upkeep compared to traditional fencing materials.
Conclusion
Installing a corrugated Metal Fence Installation can enhance the security, aesthetics, and value of your property. By following these installation guidelines and proper maintenance practices, you can enjoy a durable and attractive fence for years to come.


Comments