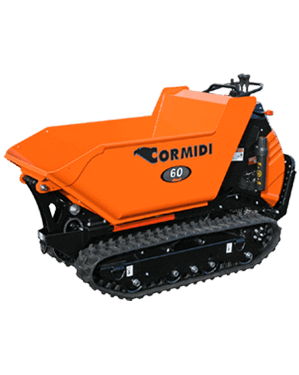
Retaining walls are a popular solution for homeowners who want to level or terrace their garden, create more usable space, or prevent soil erosion. Retaining walls come in various materials, from concrete blocks to natural stone, and can be installed in multiple ways. If you're considering installing a retaining wall in your garden, here's a step-by-step guide to help you get started.
Step 1: Assess the area and plan your design
Before you start building your retaining wall, you'll need to assess the area where you plan to build and plan your design. Take measurements of the area and determine the height and length of the wall you need. You should also consider the purpose of the retaining wall and choose material appropriate for your needs and budget. Once you have your design plan, you can start gathering your materials.
Step 2: Excavate the area
Once you have your design plan and materials, you'll need to excavate the area where you plan to install the retaining wall. This may involve removing soil, rocks, or other debris from the site. You'll also need to level the area and create a solid base for the retaining wall.
Step 3: Prepare the base
After you've excavated the area, you'll need to prepare the base for the retaining wall. This may involve adding gravel or crushed stone to create a level surface. You may also need to use a plate compactor to compress the soil and create a solid base for the wall.
Step 4: Lay the first course of blocks
Once you've prepared the base, you can start laying the first course of blocks. Start at the wall's lowest point and work your way up. Use a level to ensure the blocks are level and use a rubber mallet to tap the blocks into place gently. Ensure the blocks are snugly fitted together and there are no gaps between them.
Step 5: Add the remaining courses
After laying the first course of blocks, you can add the remaining courses. Ensure you stagger the blocks to offset the joints from the previous course. Use a level to ensure the blocks are level and a rubber mallet to tap them into place. You can use concrete adhesive to bond the blocks, but this is not always necessary.
Step 6: Backfill behind the wall
After you've laid all of the courses of blocks, you'll need to backfill behind the wall. This involves adding soil or gravel behind the wall to create a slope that supports the wall and prevents it from tipping over. Make sure you compact the soil or gravel as you go to create a solid base for the wall.
Step 7: Finish the retaining wall
Once you've backfilled behind the wall, you can finish the retaining wall. This may involve adding a capstone to the wall's top or a decorative finish. Ensure you follow the manufacturer's instructions for any finishing touches to ensure the wall is structurally sound.
Installing a retaining wall can be challenging, especially when working with a large area or complex design. To make the job easier, consider hiring an excavator from a reputable hire company like Ryno Hire. An excavator can help you dig and level the area quickly and efficiently, making it easier to install your retaining wall. Additionally, an excavator can be used for various other landscaping projects, making it a versatile investment for any homeowner.
And if you're looking to hire an excavator in Australia, Ryno Hire is the best place to go. With a range of excavators and flexible hire options, you can get the equipment you need at a competitive price. Whether you're installing a retaining wall or working on other landscaping projects, Ryno Hire has you covered. So don't hesitate to reach out and start your next project today.


Comments