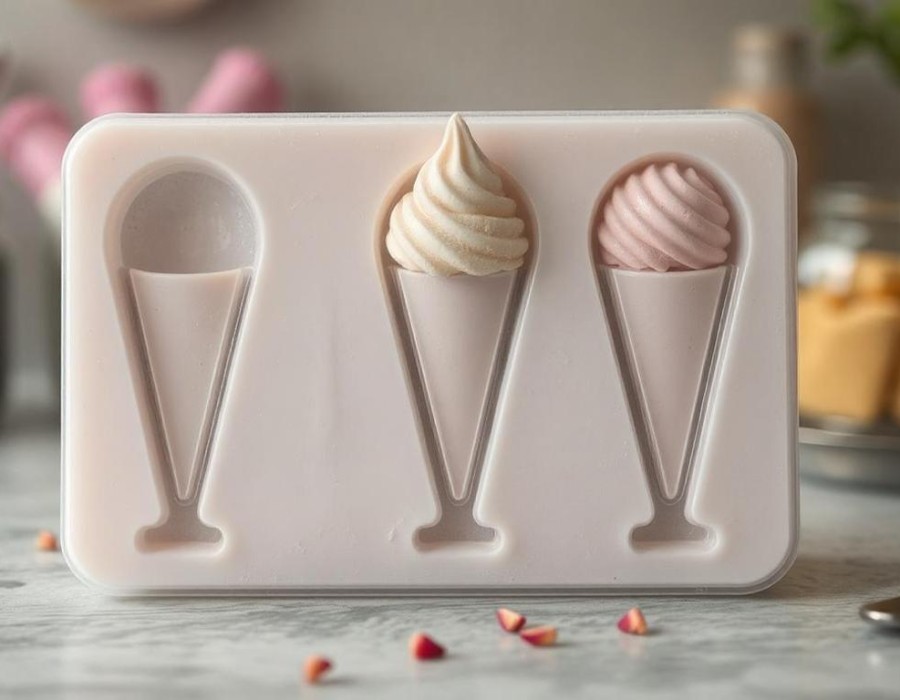
Cakesicle Mould are a delightful twist on traditional cake pops, offering a larger canvas for creative designs and mouthwatering flavors. To create these perfect treats, a cakesicle mould is essential. If you’re new to this baking tool, this guide will walk you through using it like a pro.
What Is a Cakesicle Mould?
A cakesicle mould is a specialized tool designed to help you shape cakesicles — cake and frosting mixtures shaped like popsicles. These moulds are typically made of silicone, which ensures easy release and effortless cleaning.
Materials You’ll Need
Before diving into the process, gather the following supplies:
· Cakesicle mould (silicone is preferred).
· Popsicle sticks.
· Pre-made cake (or bake one from scratch).
· Buttercream or cream cheese frosting.
· Chocolate or candy melts.
· Sprinkles, edible glitter, or other decorations.
· Piping bags (optional).
Step 1: Prepare Your Cake Mixture
1. Crumble the cake into fine pieces using your hands or a food processor.
2. Add frosting gradually until the mixture is moist enough to hold its shape when pressed but not overly sticky.
Step 2: Melt Your Chocolate or Candy Coating
1. Melt chocolate or candy melts in a microwave-safe bowl or using a double boiler.
2. Stir until smooth and lump-free.
Pro Tip: Use high-quality chocolate for a glossy finish.
Step 3: Coat the Mould with Chocolate
1. Spoon or pipe a layer of melted chocolate into the cakesicle mould.
2. Use the back of a spoon or a small brush to ensure the chocolate evenly coats all sides.
3. Insert the popsicle stick into the designated slot in the mould.
4. Freeze the mould for 5–10 minutes, or until the chocolate sets.
Step 4: Add the Cake Mixture
1. Take a portion of the prepared cake mixture and press it firmly into the chocolate-coated mould.
2. Leave a small gap at the top to allow for a final chocolate layer.
Step 5: Seal with Chocolate
1. Spoon or pipe melted chocolate over the cake mixture to seal the cakesicle.
2. Smooth the surface using an offset spatula or knife.
3. Freeze for another 10 minutes until fully set.
Step 6: Release and Decorate
1. Gently pop the cakesicles out of the mould by peeling back the silicone.
2. Decorate with additional melted chocolate, sprinkles, or edible glitter as desired.
Pro Tip: Place your cakesicles on a parchment-lined tray while decorating to avoid messes.
Conclusion:
Mastering the art of using a cakesicle mould takes practice, but with these steps, you’ll be creating show-stopping cakesicles in no time. Whether for a party, a gift, or a fun family project, cakesicles are sure to impress.
Try experimenting with flavors, colors, and decorations to make your creations uniquely yours!


Comments