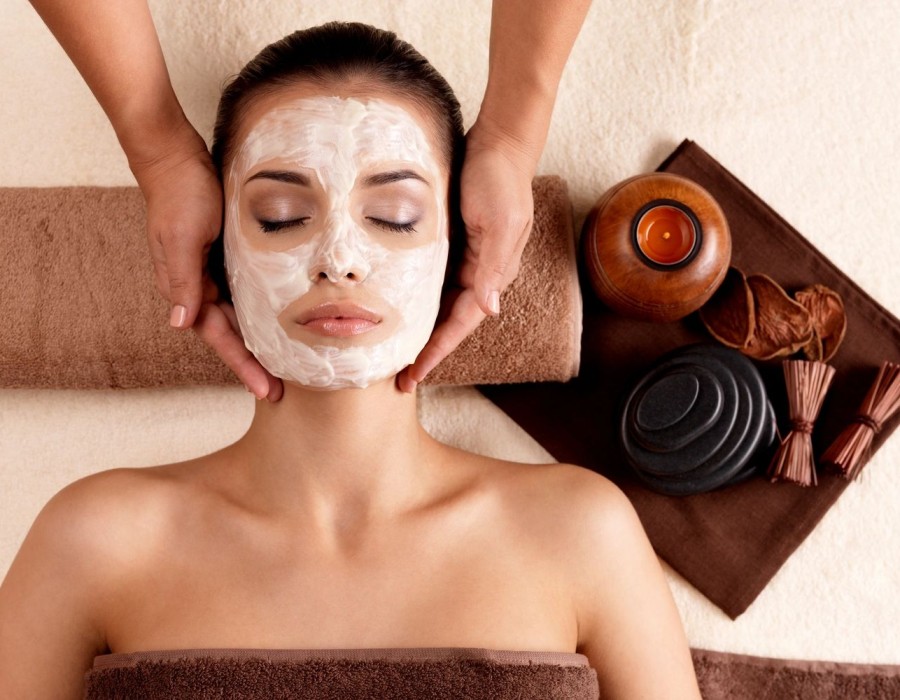
Achieving healthy, glowing skin doesn’t require frequent trips to a spa. With the right techniques and ingredients, you can perform effective facials right in the comfort of your home. DIY at-home facials are a cost-effective way to maintain and enhance your skin’s health, and they offer a personalized approach to skincare that can be tailored to your specific needs.
The Benefits of DIY At-Home Facials
Skincare and Facials at Home in Dubai provide several advantages. They are not only budget-friendly but also offer the flexibility to adjust treatments based on your skin's changing needs. Additionally, using natural and easily accessible ingredients ensures you’re avoiding harsh chemicals often found in commercial products. By incorporating regular at-home facials into your skincare routine, you can improve your skin’s texture, tone, and overall appearance.
Choosing the Right Ingredients
When creating your DIY at-home facial, selecting the right ingredients is crucial for achieving the desired results. Opt for natural ingredients that suit your skin type:
- For Dry Skin: Ingredients like honey, avocado, and coconut oil are excellent for moisturizing and nourishing dry skin. Honey acts as a natural humectant, drawing moisture into the skin, while avocado and coconut oil provide essential fatty acids that help in skin hydration.
- For Oily Skin: Clay masks, yogurt, and lemon juice are beneficial for controlling excess oil and reducing shine. Clay masks help absorb excess oil, while yogurt and lemon juice have astringent properties that can tighten pores and balance oil production.
- For Sensitive Skin: Oatmeal, cucumber, and aloe vera are gentle options for soothing sensitive skin. Oatmeal has anti-inflammatory properties, cucumber provides cooling relief, and aloe vera is known for its calming effects on irritated skin.
Step-by-Step Guide to a DIY Facial
1. Cleanse Your Skin
Start by thoroughly cleansing your skin to remove any dirt, oil, or makeup. Use a gentle cleanser that suits your skin type to ensure your pores are clean and ready for the facial. This step helps to prepare your skin for better absorption of the facial ingredients.
2. Exfoliate
Exfoliation is an essential step in a DIY facial as it removes dead skin cells, promoting a smoother texture and better absorption of subsequent products. You can use a natural exfoliant like a mixture of sugar and honey or oatmeal. Gently massage the exfoliant onto your skin in circular motions, avoiding the delicate eye area. Rinse with lukewarm water and pat dry.
3. Apply the Facial Mask
Choose a mask based on your skin type and the specific needs of your skin. Here are a few easy recipes:
- Hydrating Avocado Mask: Mash half an avocado and mix it with a tablespoon of honey. Apply the mixture to your face and leave it on for 15-20 minutes before rinsing off.
- Oil-Control Clay Mask: Combine two tablespoons of clay powder with enough water to form a paste. Apply the paste to your face and leave it to dry for 10-15 minutes. Rinse off with warm water.
- Soothing Oatmeal Mask: Blend one cup of cooked oatmeal with a tablespoon of honey and a few drops of aloe vera gel. Apply the mixture to your face and let it sit for 15 minutes before rinsing.
4. Tone Your Skin
After rinsing off the mask, use a toner to balance your skin's pH and tighten pores. You can create a simple toner by mixing equal parts of apple cider vinegar and water or using rose water. Apply the toner with a cotton pad and allow it to dry naturally.
5. Moisturize
Finish your DIY at-home facial by applying a moisturizer suitable for your skin type. This step helps lock in hydration and keeps your skin soft and smooth. For a natural option, you can use a mixture of coconut oil and a few drops of essential oil like lavender or chamomile.
Tips for Effective At-Home Facials
- Patch Test: Before applying any new ingredient or mask to your face, perform a patch test on a small area of your skin to ensure you don’t have an allergic reaction.
- Consistency: For best results, incorporate DIY facials into your skincare routine once a week. Consistency helps maintain skin health and allows you to monitor how different ingredients affect your skin.
- Hygiene: Ensure that all tools and utensils used during your facial are clean to prevent any potential contamination or skin irritation.
- Relax: Make your DIY facial a relaxing experience by setting aside dedicated time for yourself. Enjoy a few minutes of relaxation while the mask is on to enhance the overall benefit of the facial.
Conclusion
DIY at-home facials offer a practical and effective way to maintain healthy skin without the need for expensive salon treatments. By using natural ingredients tailored to your skin type and following a structured routine, you can enjoy radiant and well-nourished skin. Embrace the simplicity and personalization of at-home facials to enhance your skincare regimen and achieve the glow you desire.


Comments