


1. Design the Stamp
The first step is to decide what your custom stamp will include. The design could be your:
- Company logo
- Signature or initials
- Address or contact details
- Custom text or message
- Artwork or graphics
Designing the stamp requires careful attention to detail, as it should be clear and readable when stamped. You can use graphic design software like Adobe Illustrator or provide your stamp maker with a rough sketch or idea.
2. Choose the Type of Stamp
Decide on the type of custom rubber stamp you need. Some options include:
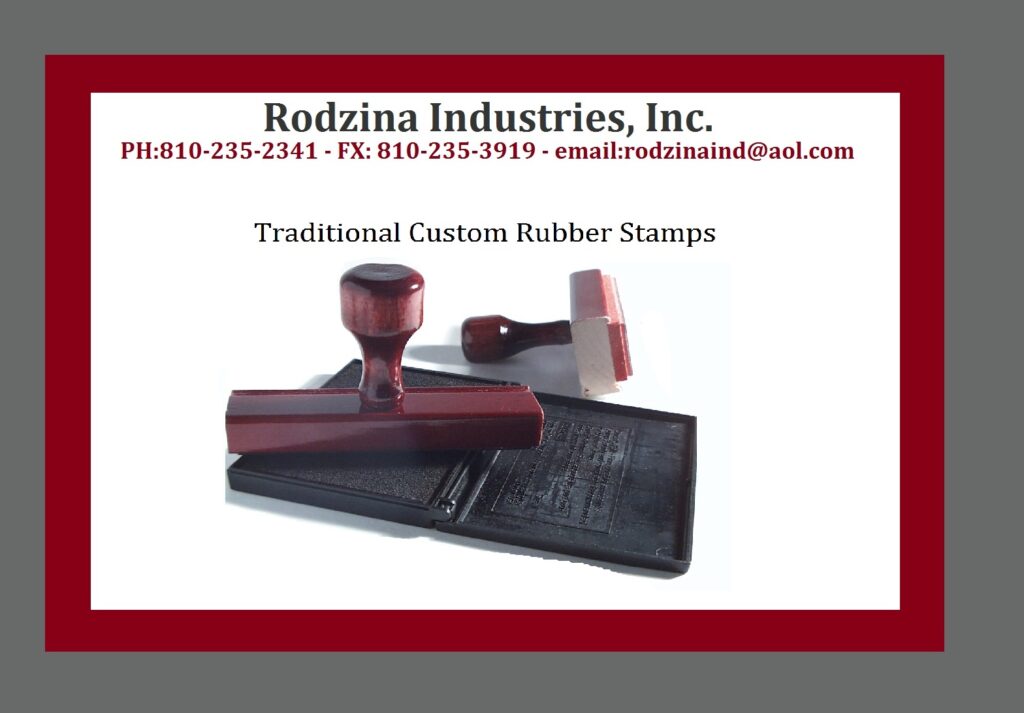
- Traditional Rubber Stamps: Requires a separate ink pad.
- Self-Inking Stamps: Includes a built-in ink pad that automatically re-inks after each impression.
- Pre-Inked Stamps: The ink is embedded into the rubber, offering a more compact option that doesn't require a separate ink pad.
- Wooden Handle or Mounted Stamps: These offer a more traditional aesthetic.
Choosing the right type depends on your intended use, the volume of stamping, and convenience.
3. Transfer the Design to Rubber
Once the design is finalized, it's transferred onto a rubber sheet or pad. This is the core of the stamp, and the design will be engraved or molded into the rubber. The process can be done in two ways:
- Laser Engraving: This uses a high-powered laser to burn the design into the rubber.
- Chemical Etching: The design is chemically etched into the rubber using a special solution that erodes the rubber where it's exposed.
Both methods allow for detailed and precise reproduction of your design.
4. Mount the Rubber on a Handle or Base
Once the design is etched or engraved, the rubber stamp is then mounted onto a handle or base. This step ensures that the stamp is easy to hold and use, whether you're using it for personal or business purposes. Handles can be made from wood, plastic, or metal, and many modern stamps come with ergonomic handles to ensure comfort during repeated use.
5. Ink the Stamp
For self-inking stamps or pre-inked stamps, the rubber is infused with ink, or an ink cartridge is placed in the stamp’s mechanism. Traditional stamps require a separate ink pad, but these types of stamps offer more convenience by providing continuous, mess-free stamping.
- Self-Inking Stamps: Ink is automatically transferred to the rubber surface from a built-in ink pad.
- Pre-Inked Stamps: The ink is stored inside the rubber and doesn’t require additional ink pads.
6. Test the Stamp
Once the rubber stamp is assembled, it’s important to test it to ensure the design appears clearly and is functional. This allows for any adjustments or refinements to be made before the stamp is used for official purposes.
7. Final Adjustments
If the test stamp doesn’t meet the desired quality (e.g., the design is too light or smudged), adjustments are made to the rubber’s engraving or ink quality. Once everything looks perfect, the stamp is ready for use.
Where to Order Custom Rubber Stamps
At Rodzina Industries, we are a custom rubber stamp maker offering high-quality, personalized stamps. Whether you’re looking for a custom logo, signature stamp, or an address stamp, we provide precision and durability in every design. Our offerings include traditional rubber stamps, custom self-inking stamps, and pre-inked stamps- each customizable to your specifications.
Visit our website at https://rodzinaindustries.net/ to explore our wide selection of custom rubber stamps and start creating your perfect stamp today.
Comments