Refinishing hardwood sports floors is no small feat, especially when the floor has a history. If you've got an aged maple hardwood floor that's hosted countless games, you know the charm it brings—but also the toll time has taken. Bringing it back to life isn't just about sanding and polishing; it's an art. Let's break down how pros tackle this meticulous job and make sure that wood shines again.
Why Refinishing is Essential for Old Hardwood Floors
Hardwood sports floors are like an open book, telling the story of every sneaker scuff and ball bounce. But over time, all that wear starts to show—dulling the wood, revealing scratches, and even leading to splinters. Professional hardwood sports floor refinishing restores not only the look but also the feel and safety of the floor, making it ideal for players to give their best. Plus, if it's a historical hardwood, preserving its authentic look adds extra value and meaning to the space.
Step One: Assessing the Condition of the Floor
Before diving in, professionals assess the floor. Aged wood needs special care, so pros inspect for issues like deep scratches, gouges, or even loose boards. For historical floors, they also consider how previous refinishing jobs might've impacted the wood's surface. Often, older floors have been refinished multiple times, and each layer sanded off makes the wood a little thinner. That's why this initial check is key to doing the job right.
Stripping and Sanding – The Makeover Begins
Once the plan is set, it's time to strip the floor. This step removes the old, dull finish, but it takes a delicate hand. Sanding down to the raw wood is essential to get a fresh, smooth base. For maple hardwood—particularly the type used in sports flooring—professionals use special sanding tools and techniques to avoid damaging the wood. The goal is to strip away the wear without compromising the floor's integrity.
Every inch is covered, from the wide open court to the narrow spaces along the walls. Sanding gives the floor a clean slate, quite literally, by smoothing out any uneven spots and preparing it for the new finish.
Repairing and Filling Imperfections
Sanding reveals a lot, including areas that may need extra love. After years of play, there could be deep scratches, cracks, or even small holes. Here's where the pros come in again, using wood filler and expert patching techniques to make those blemishes disappear. It's like giving the floor a facelift, erasing the wear while keeping the character.
Choosing the Right Finish: Enhancing the Natural Look
The finish is the final touch that makes all the difference. The right one will highlight the natural beauty of the hardwood and protect it from future damage. But it's not one-size-fits-all—different finishes offer varying levels of sheen, color depth, and durability.
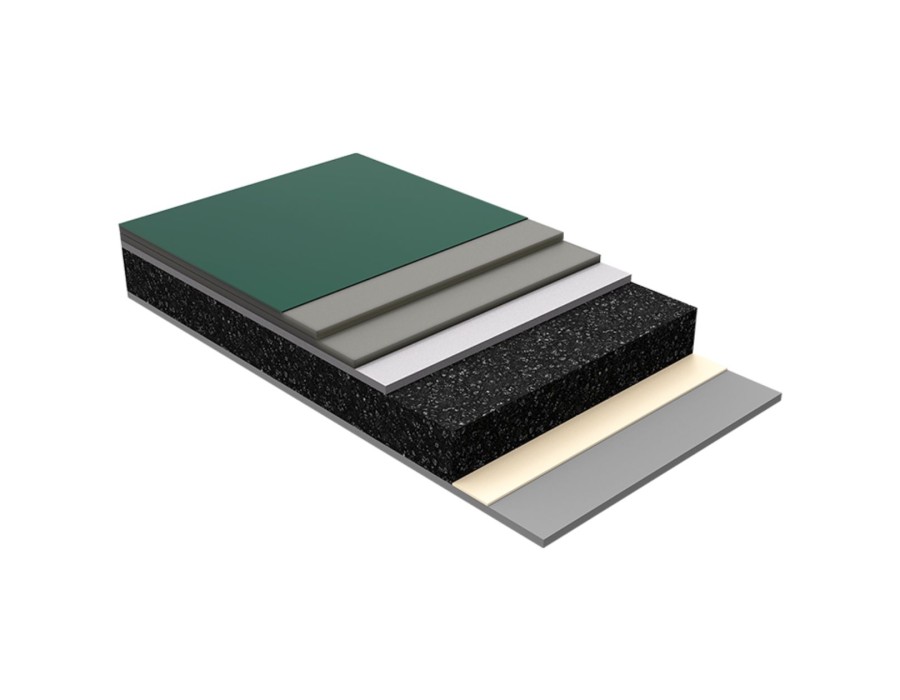
For sports floors, polyurethane is a popular choice due to its durability and high gloss, which makes the wood grain pop while standing up to heavy foot traffic. The finish is carefully applied in thin coats, allowing each layer to dry fully before the next. Polyurethane sports floor systems comprise multiple coats that provide the right balance of shine and protection, letting the floor's natural maple tones take center stage.
Buffing for That Final Glow
Once the finish has set, it's time for the final touch: buffing. This step brings out the floor's full luster, giving it that smooth, glass-like shine you want on a hardwood sports floor. Buffing also evens out any inconsistencies in the finish, making the whole surface look seamless and pristine.
The Result: A Floor That Looks and Plays Like New
With all that work done, the floor is now ready to take center stage again. The refinished maple hardwood sports floor not only looks stunning but also performs better, offering athletes a smooth, safe surface to play on.
Refinishing an aged sports floor is like uncovering a gem beneath the rough. It's a chance to restore the wood's natural beauty while preserving its history. And with the right care, it'll stay that way for years to come, looking as gorgeous as the day it was installed.


Comments