


.jpg)
Flat roofs are a popular choice for modern homes and commercial buildings due to their sleek design and efficient use of space. However, flat roof installation requires careful planning and execution to ensure durability and prevent water leakage. In this guide, we’ll walk through a step-by-step process for installing a flat roof and share some key tips to help you achieve a watertight and long-lasting finish. To get more details, visit here https://greenhomeroofinginc.com/flat-roof-services-coral-gables.
Understanding the Basics of Flat Roofs
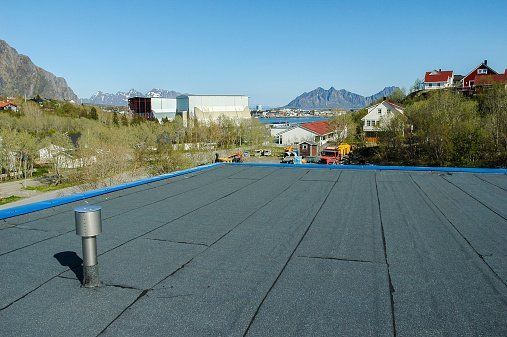
Flat roofs may appear level, but they actually have a slight pitch to facilitate drainage. This subtle slope is critical to prevent standing water, which can lead to leaks and structural damage over time. Most flat roofs are constructed using materials like modified bitumen, EPDM rubber, TPO, or PVC membranes. The choice of material often depends on your budget, climate, and the building’s purpose.
Proper insulation and drainage systems are equally essential. Without these, even the best materials can fail prematurely. Before diving into the installation, it’s important to evaluate the existing structure, local building codes, and climate conditions.
Step 1: Preparing the Roof Deck
The first and most critical step is preparing the roof deck. This involves removing any existing roofing material and ensuring the underlying deck is clean, dry, and structurally sound. Any signs of rot, mold, or damage must be addressed immediately. A solid, even surface is necessary for proper adhesion and installation of new roofing materials.
Installing a vapor barrier may also be necessary, especially in regions with high humidity. This helps to prevent moisture from penetrating the insulation and weakening the roofing structure over time.
Step 2: Laying Down Insulation
Insulation plays a dual role in a flat roofing system. It improves energy efficiency and adds another layer of protection against leaks. Depending on the roofing system chosen, insulation can be installed above or below the deck. Rigid foam boards are a popular option for their high R-value and ease of installation.
During this stage, it’s important to avoid gaps between insulation panels. Any inconsistency in coverage can lead to thermal bridging, which not only impacts energy efficiency but can also encourage condensation and eventual water intrusion.
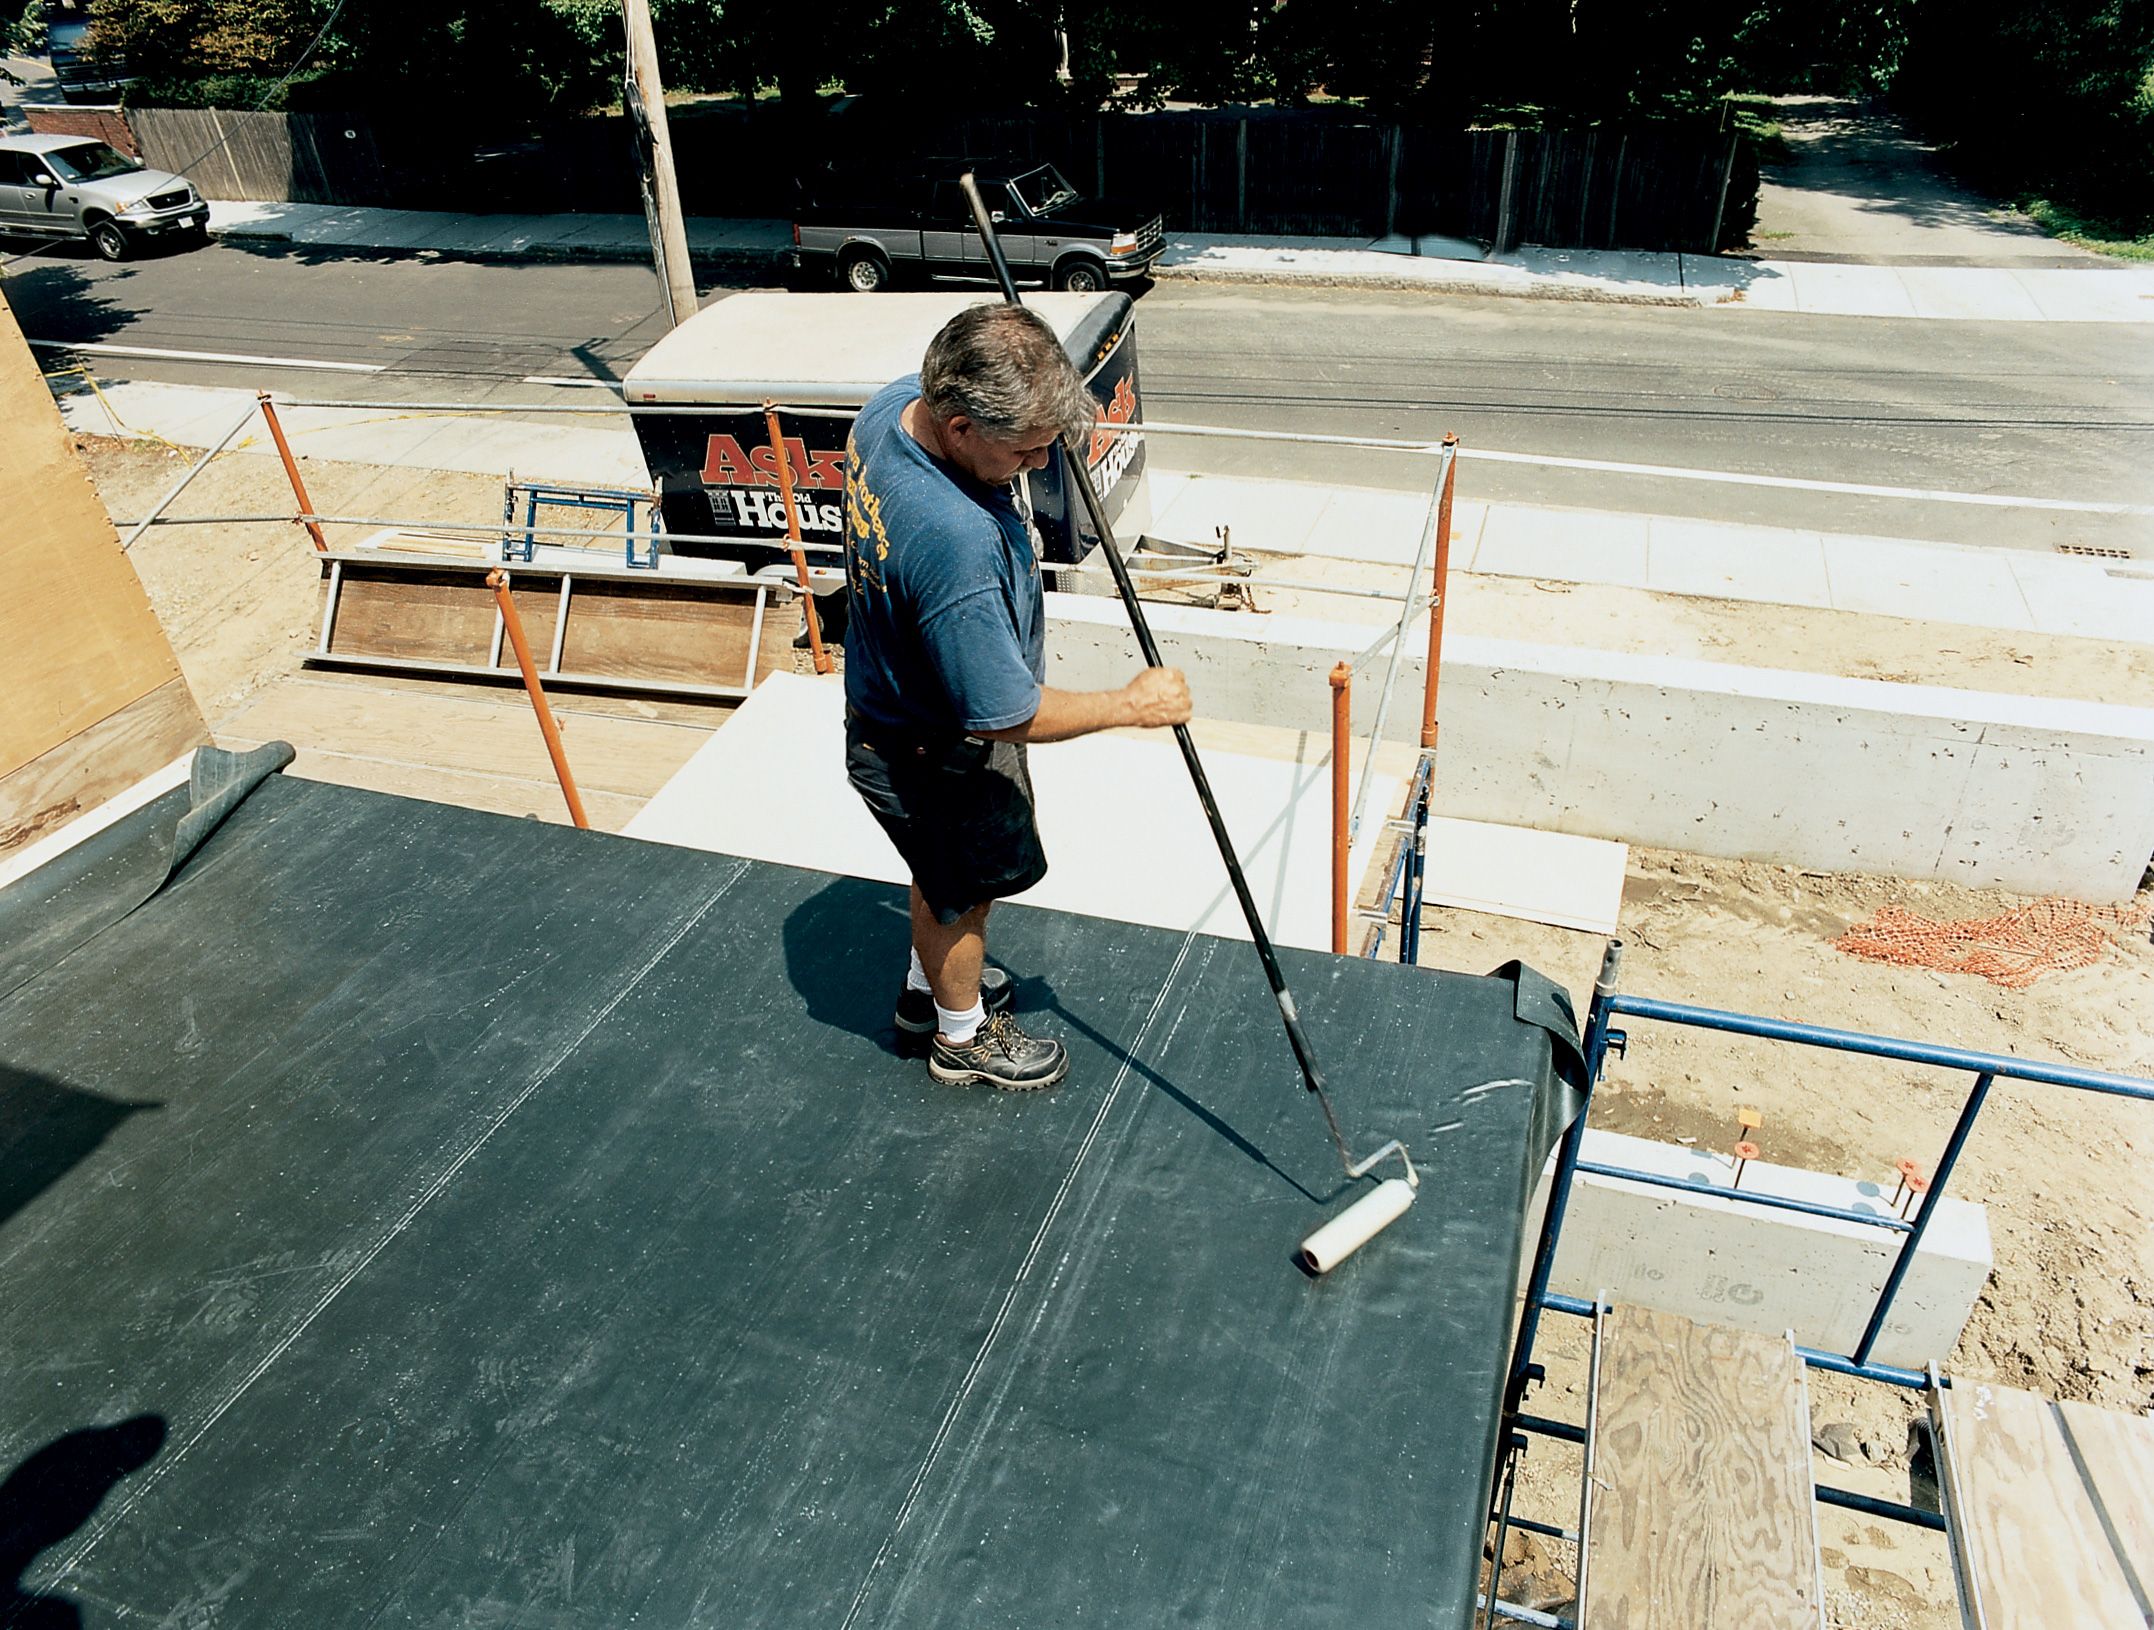
Step 3: Installing the Roofing Membrane
Once the insulation is in place, it’s time to install the waterproof membrane. This layer acts as the primary defense against rain and snow. Common choices include EPDM (a synthetic rubber), TPO (a single-ply thermoplastic), and modified bitumen (an asphalt-based product reinforced with fiberglass or polyester).
Installation techniques vary depending on the material. EPDM is typically glued down, TPO is often heat-welded, and modified bitumen may be torch-applied or adhered with cold-applied adhesives. Regardless of the method, it’s crucial to ensure there are no wrinkles, air pockets, or poorly sealed seams, as these are potential leak points.
Step 4: Sealing Edges and Penetrations
Roof edges, vents, skylights, and HVAC units are all vulnerable points where leaks commonly occur. Special attention must be given to these areas. Flashing, which is typically made of metal or a compatible membrane material, is used to seal around penetrations and edges.
Proper overlap and secure fastening are key. It’s also important to use compatible sealants that can withstand temperature fluctuations and UV exposure. Careful detailing in this step can significantly extend the lifespan of the roof.
Step 5: Installing Drainage Systems
Drainage is a vital part of flat roof design. Even with a slight pitch, flat roofs require a reliable system to guide water off the roof quickly and efficiently. Internal drains, scuppers, or gutters are common solutions.
These systems must be positioned at the lowest points of the roof to ensure proper flow. Regular maintenance is necessary to prevent clogging from debris. Poor drainage leads to pooling water, which is one of the main causes of leaks in flat roofs.
Step 6: Final Inspection and Maintenance Plan
After installation is complete, a thorough inspection ensures that all seams are sealed, flashings are secure, and drainage systems are functional. It’s recommended to have a roofing professional review the work to verify its integrity.
Flat roofs also require regular maintenance. Inspect the roof at least twice a year and after major storms. Look for signs of wear, punctures, standing water, or damaged flashings. Prompt repairs can prevent small issues from becoming major problems.
Conclusion: Quality Installation for Long-Term Protection
Installing a flat roof requires more than just laying down materials—it demands attention to detail, proper planning, and the right techniques. From preparing the deck to sealing the final seam, each step plays a crucial role in the roof’s performance and lifespan. By following this step-by-step guide and prioritizing leak prevention strategies, you can ensure that your flat roof stands strong for years to come.
Comments