Let’s be honest sending out dozens (or hundreds) of letters or emails manually feels like a never-ending loop of copy, paste, tweak, repeat. It’s one of those tasks that looks simple but quietly drains your time (and patience).
But what if you could automate all that repetition with just a few clicks? Enter mail merge in Excel to Word a hidden gem inside Microsoft Office that transforms hours of grunt work into a task you can finish before your coffee gets cold.
In this post, I’ll walk you through the easiest way to do mail merge, even if you’ve never tried it before. Whether you’re crafting personalized business letters, event invites, or running a mass email Outlook campaign, this step-by-step guide will make you wonder why you didn’t learn it sooner.
What Exactly Is Mail Merge (and Why Should You Care)?
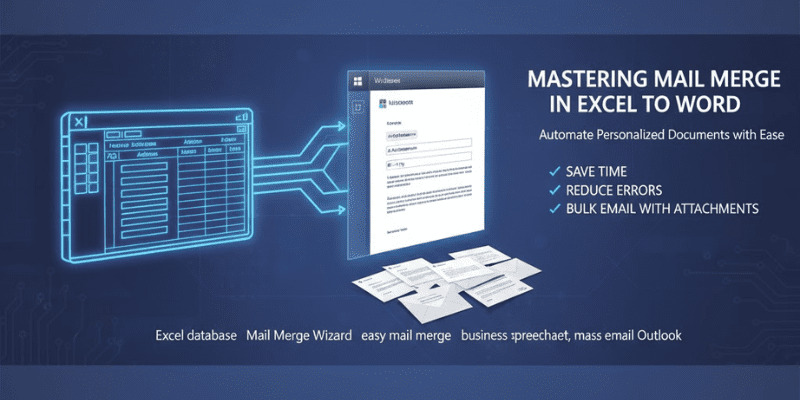
Imagine you’re sending the same letter to 200 clients. The message is identical, but each letter needs a different name, address, and company. Instead of typing every detail manually, mail merge in Word pulls that information automatically from an Excel database filling in the blanks for you.
It’s basically a data-driven copy machine that customizes every letter or email perfectly.
You can use mail merge from Excel for:
- Personalized business letters
- Bulk certificates or forms
- Client communication and billing
- Newsletters sent through mass email Outlook
Once you get the hang of it, you’ll realize how much smoother your workflow becomes especially if you’re building your career in IT, admin, or marketing, where efficiency is everything.
Step 1: Set Up Your Excel Database
Before you dive into Word, start with a clean, structured Excel sheet. Think of this as the foundation of your mail merge.
Here’s how to set it up:
- Open a new Excel file and create column headers like First_Name, Last_Name, Email, Company, and Address.
- Fill in your recipient details below each column.
- Save your file somewhere easy to find.
Pro tip: Keep the column headers simple avoid spaces or special characters. For instance, use First_Name instead of First Name. This makes it easier for Word to recognize your fields later.
This sheet becomes your Excel database, which Word will pull data from during the merge.
Step 2: Open Word and Launch the Mail Merge Wizard
Now that your Excel file is ready, it’s time to open Word. Go to the Mailings tab at the top ribbon, and you’ll see an option called Start Mail Merge.
If you’re new to this, I highly recommend using the Mail Merge Wizard. It’s like having a built-in tutor that walks you through the process step by step.
Here’s what to do:
- Click Start Mail Merge → Step-by-Step Mail Merge Wizard.
- Choose what you’re creating Letters, Emails, Envelopes, or Labels.
- Select Use an Existing List when prompted and browse to your Excel file.
Word will now connect directly to your Excel database, allowing you to access all the data you just organized.
Step 3: Write Your Message and Add Merge Fields
Now comes the fun part writing your message.
Start by typing your letter or email as usual in Word. Wherever you want personalized information (like the recipient’s name), go to Insert Merge Field and choose the field from your Excel file, such as First_Name or Company.
For example:
Dear «First_Name»,
Thank you for joining our community at «Company». We’re excited to stay connected and share updates with you.
Each «field» acts as a placeholder that Word will automatically fill in for every recipient.
If you’re doing a mass email Outlook merge, you can also choose the email option and Word will send your personalized messages directly through Outlook no third-party tools needed!
Step 4: Preview and Complete the Merge
Before you hit send or print, always preview your results. Click Preview Results under the Mailings tab to see exactly how each letter or email looks with real data from your Excel database.
If something looks off, go back and tweak your Excel sheet or your field placements.
When everything looks perfect:
- Choose Finish & Merge → Print Documents to create physical copies, or
- Select Send E-mail Messages if you’re sending through Outlook.
And just like that you’ve performed an easy mail merge without needing to be an expert.
Why IT and Office Professionals Love Mail Merge
Mail merge might seem like a small skill, but in reality, it’s an early lesson in automation the backbone of IT efficiency.
It teaches you how to make tools talk to each other (in this case, Excel and Word) to eliminate manual work. Once you understand the logic, you’ll start spotting automation opportunities everywhere from data reporting to system integrations.
So, while it’s a simple Office trick, it’s also a stepping stone to understanding bigger automation workflows a valuable skill for anyone growing in tech or business operations.
Wrapping Up: From Manual to Magical
The first time you run a mail merge in Excel to Word, it feels almost like a magic trick. You watch hundreds of personalized letters or emails generate instantly, and you realize you’ve just saved hours of work with a few clicks.
If you’ve been putting off learning it, now’s the time. Fire up Excel and Word, follow these steps, and you’ll be amazed at how quickly you can go from tedious repetition to smooth, smart automation.
Because the truth is technology isn’t just about fancy coding or complex systems. Sometimes, it’s about knowing the simple tools that make your day a whole lot easier.


Comments