Introduction to Residential Sealcoating
Residential sealcoating is an essential maintenance practice for asphalt driveways and other paved surfaces around your home. It involves applying a protective layer to the asphalt to extend its life, enhance its appearance, and protect it from various damaging elements. This guide will delve into the benefits, process, and tips for effective residential sealcoating, ensuring you get the best results for your property.
Benefits of Residential Sealcoating
Protection from Weather and Chemicals
Sealcoating provides a robust shield against the harsh effects of weather and chemicals. Asphalt surfaces are susceptible to damage from UV rays, rain, snow, and automotive fluids. Sealcoating forms a barrier that prevents these elements from penetrating the surface, thus reducing the likelihood of cracks and potholes.
Extended Lifespan
One of the primary benefits of sealcoating is the extension of your driveway's lifespan. Regularly applying a sealcoat can significantly delay the deterioration process, potentially doubling the life of your asphalt surface. This means fewer repairs and replacements, saving you money in the long run.
Enhanced Appearance
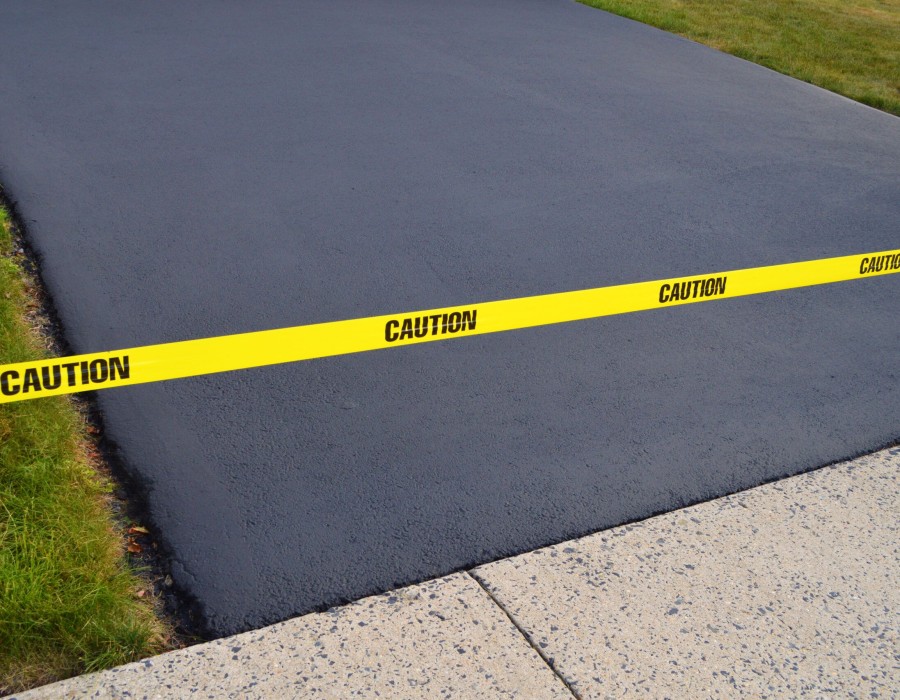
A freshly seal-coated driveway looks smooth and dark, greatly enhancing your home's curb appeal. Over time, asphalt can become faded and worn-looking. Sealcoating restores its rich color and smooth texture, making your driveway look new.
Cost-Effective Maintenance
Compared to the cost of major repairs or complete resurfacing, sealcoating is relatively inexpensive. Regular maintenance through sealcoating can prevent minor issues from becoming major problems, thus avoiding costly repairs.
The Sealcoating Process
Understanding the sealcoating process can help you appreciate its importance and ensure it is done correctly. Here is a step-by-step overview:
Surface Preparation
Cleaning
The first step is thorough cleaning. Remove all debris, dirt, and vegetation from the surface. Use a power blower, broom, or pressure washer to ensure the surface is completely clean and ready for sealcoating.
Repairing Damages
Inspect the driveway for cracks, potholes, and other damages. Fill cracks with crack filler and repair potholes with patching material. Properly addressing these issues is crucial for a smooth and effective sealcoating application.
Application of Sealcoat
Choosing the Sealant
Select a high-quality sealant suitable for residential driveways. There are different types of sealants available, such as coal tar emulsion, asphalt emulsion, and acrylic polymer. Each type has specific benefits, so choose one that fits your needs and budget.
Applying the Sealant
Sealcoating can be applied using brushes, squeegees, or sprayers. For a consistent and even coat, follow these steps:
Edging: Start by applying the sealant along the edges of the driveway with a brush or squeegee.
First Coat: Pour the sealant onto the driveway and spread it evenly using a squeegee or brush. Work in small sections to ensure complete coverage.
Drying Time: Allow the first coat to dry thoroughly, which usually takes 24-48 hours depending on weather conditions.
Second Coat: Apply a second coat of sealant for added protection, following the same process as the first coat.
Post-Application Care
Curing Time
After applying the sealcoat, it is essential to let it cure properly. Avoid using the driveway for at least 48 hours to allow the sealant to set and adhere to the surface.
Regular Maintenance
Maintain your seal-coated driveway by keeping it clean and addressing any new cracks or damages promptly. Regular maintenance will prolong the effectiveness of the sealcoat and keep your driveway looking its best.
Tips for Successful Sealcoating
Choose the Right Weather
Sealcoating should be done in favorable weather conditions. The ideal temperature range is between 50°F and 85°F, with no rain expected for at least 24 hours. Dry, sunny weather ensures optimal curing and adhesion of the sealant.
Proper Timing
Timing is crucial for sealcoating. It is recommended to sealcoat your driveway every 2-3 years, depending on its condition and exposure to elements. Avoid sealcoating too frequently, as excessive layers can lead to peeling and cracking.
Use Quality Products
Invest in high-quality sealant products to ensure durability and effectiveness. Cheaper sealants may not provide adequate protection and could require more frequent reapplication.
Hire Professionals
While DIY sealcoating is possible, hiring professionals can ensure a flawless and long-lasting finish. Experienced contractors have the necessary equipment and expertise to apply the sealant evenly and efficiently.
Common Mistakes to Avoid
Inadequate Surface Preparation
Failing to clean and repair the driveway thoroughly before sealcoating can lead to poor adhesion and an uneven finish. Ensure the surface is clean, dry, and free of damage before applying the sealant.
Applying too-thick Thick Layers
Applying sealant in thick layers can cause it to crack and peel. Apply thin, even coats and allow each layer to dry completely before applying the next.
Ignoring Weather Conditions
Sealcoating in unfavorable weather conditions, such as extreme heat, cold, or rain, can result in poor curing and adhesion. Always check the weather forecast and choose the right time for sealcoating.
Neglecting Regular Maintenance
Sealcoating alone is not enough to ensure the longevity of your driveway. Regular maintenance, such as cleaning, crack repairs, and reapplication of sealant every few years, is essential for preserving the asphalt.
Conclusion
Residential sealcoating is a vital maintenance practice that offers numerous benefits, including protection from the elements, extended lifespan, enhanced appearance, and cost-effective maintenance of your driveway. By understanding the sealcoating process, choosing the right products, and avoiding common mistakes, you can ensure a successful and long-lasting sealcoat. Whether you choose to do it yourself or hire professionals, regular sealcoating will keep your driveway looking great and functioning well for years to come.


Comments