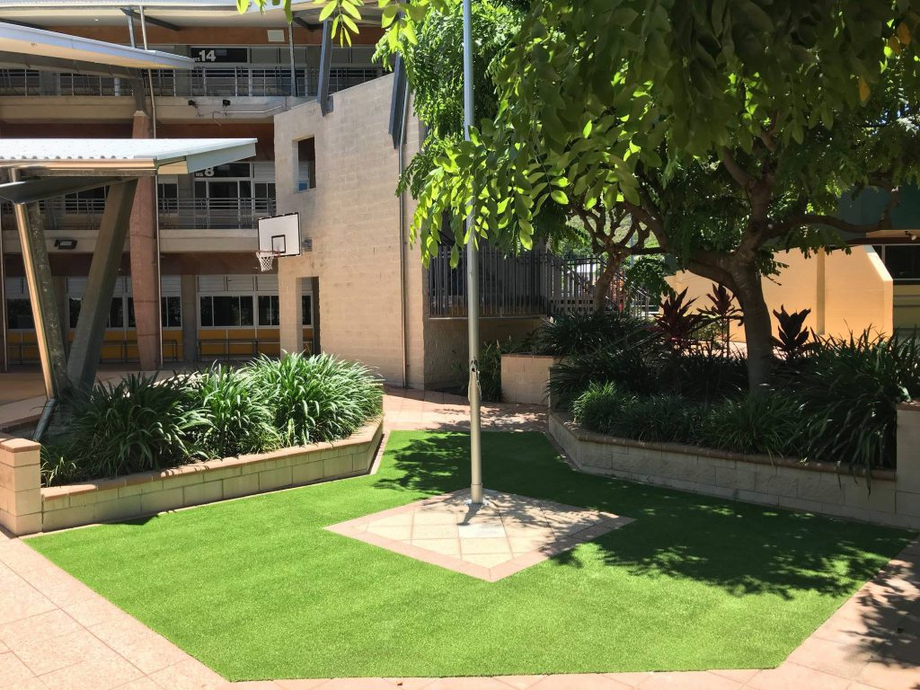
Excited to own a lush green maintenance free lawn? Your vision to create a surreal landscape with Artificial Grass Backyard is indeed a smart choice. It won’t need any mowing, you don’t have to worry about watering it, the fake turf is even pet-friendly and simply the best thing a homeowner can get.
Some people think of professional installation as an additional cost and choose to take the DIY road and buy their own artificial grassHowever, you will be surprised to know the amount of hard work it requires to put together an artificial lawn. If you are planning to make it a DIY project over a weekend, consider reading this post before you start the installation process. Rather than learning by mistakes, read this post and know what can go wrong and how to avoid it:
- Uneven looking turf: You visited a golf course and were mesmerized with the flat greens. Those greens are installed by professionals and the one that you installed may not look similar to what you imagined because of the uneven surface. It is best to measure the levels and use a rented turf cutter to smooth things out. Alternatively, you can call the experts for a hassle free installation.
- Wrinkled turf: You ordered the best artificial grass and installed it directly on top of dirt and the outcome is wrinkled turf full of soft spots. The underlying problem is that you ignored the importance of sub-base installation. The soil under the grass is free to move and can create dimples and wrinkles. To avoid it you need to know the right amount of sub-base material it requires to create a strong and even surface underneath. You could check out the guide offered by professional installers to calculate the required sub-base aggregate layers, but is better to have your atificial lawn installed by a professional at the outset
- Undulating lawn: When you buy artificial grass it is important to wait for at least 24 hours or more to let it acclimatize. Most people ignore the importance of the waiting time and lay it immediately.As a result there will be waves on the turf.
- Different shades of green: Even after spending hours watching YouTube tutorials you failed to achieve the ‘flawless’ look and just recognized that the artificial grass has different shades of green and joints are visible everywhere. The possible reason could be the pile direction. To avoid it, make sure to check the direction of the blades before installation. For a picture perfect look, either learn on a trial and error basis or simply hire the experts.
- Unsecure joints: It is the most common mistake that makes your DIY project a total failure. Without prior knowledge, it is almost impossible to have invisible joints. There are certain kinds of tools, sealing products and techniques which are required to achieve the flawless look. The joints should be strong enough and invisible toacheive the desired look. A professional will havea sound knowledge of galvanized U pins, flooring trowels, specialty adhesives and the right sealing techniques to achieve a realistic look.
Final word
Without proper surface treatment, the artificial lawn will look uneven andpoor joining techniques may damage the fibers. So what should be done? Make a wise decision and call the professionals for artificial turf design, supply and installation. For more information, visit the link given below.


Comments