


Introduction
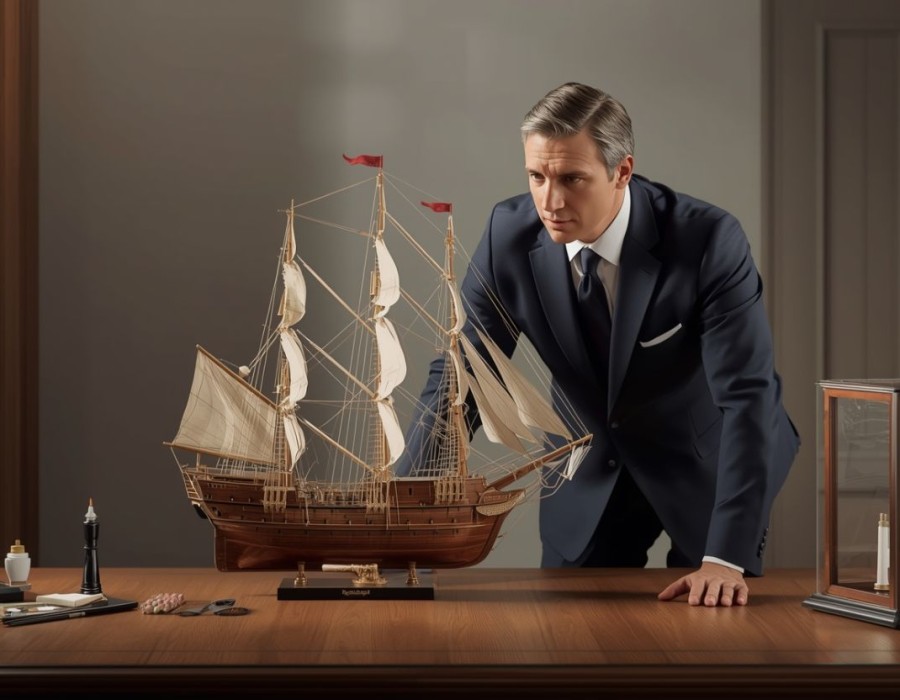
Ship modeling is a rewarding hobby that combines history, creativity, and precision craftsmanship. While building the basic structure of a ship model is satisfying, applying advanced detailing techniques transforms a simple model into a realistic, museum-quality miniature. Each rope, sail, deck fitting, and miniature accessory contributes to the overall authenticity and visual impact of the ship.
This guide will cover advanced techniques for detailing ship models, including rigging, deck and hull detailing, sail shaping, painting, weathering, and display tips. Whether you are working on a wooden tall ship, a naval vessel, or a modern liner, these methods will help your model stand out as a professional collectible.
Why Advanced Detailing Is Important
Advanced detailing adds depth and realism to your ship model. A basic model may be visually appealing, but adding rigging, miniature fittings, and realistic sails creates a professional, lifelike appearance.
Detailing also preserves historical accuracy. By replicating deck equipment, rigging patterns, anchors, lifeboats, and hull finishes, you create a miniature representation of the real ship. Detailed models are more valuable for collectors and enthusiasts, making the time and effort spent worthwhile.
Essential Tools for Advanced Ship Model Detailing
Having the right tools is crucial for achieving precision and accuracy in detailing. The essential tools include:
- Fine-tip tweezers for handling small parts
- Precision hobby knives for cutting and shaping components
- Miniature paintbrushes, sizes 000 to 1, for detailed painting
- Needle files and sanding sticks for smoothing edges
- Magnifying glasses or head-mounted magnifiers for clear viewing of fine details
- Pin vise and micro drills for drilling accurate holes
- Glue applicators with fine tips for precise adhesive application
- Miniature clamps or clips to secure parts while the glue sets
Using quality tools ensures clean work, reduces mistakes, and makes intricate detailing more manageable.
Advanced Rigging Techniques
Rigging is one of the most important and complex parts of ship modeling. Proper rigging enhances both aesthetics and structural accuracy.
Choosing the Right Thread
Different ropes serve different functions on a ship. Use thicker threads for main shrouds and stays, and thinner threads for ratlines, running rigging, and smaller lines. Correct thread sizing ensures realistic proportions and maintains scale authenticity.
Waxing and Stiffening Threads
Lightly coating threads with beeswax or thread stiffener prevents fraying, makes them easier to handle, and helps maintain tension. Stiffened lines hold their shape, keeping masts straight and lines taut.
Accurate Knot Work
Learning miniature versions of common nautical knots, such as clove hitches, bowlines, and reef knots, enhances realism. Even tiny knots improve the overall authenticity of the rigging.
Proper Tension
Rigging should be tight but not overstressed. Over-tightening can warp masts or snap threads. Use miniature clamps or pins to hold rigging in place while the glue dries.
Deck Detailing Techniques
The deck is often the first area viewers notice, making detailed work essential.
Deck Planking
Use thin wooden strips to simulate deck planks. Stagger them slightly and sand edges smoothly. Staining or painting planks adds realism and replicates aged wood.
Adding Deck Fittings
Include anchors, lifeboats, capstans, winches, and cannons. Metal or resin parts often look more realistic than plastic. Adding chains, ropes, and pulleys enhances visual complexity.
Painting and Highlighting
Use fine brushes for deck details. Layer colors to create depth and add shadows and highlights to mimic light and texture variations.
Hull and Exterior Detailing
The hull defines the ship’s silhouette and benefits from careful finishing.
Painting
Apply multiple thin layers of paint for smooth coverage. Use masking tape for crisp color separation between hull sections. Choose finishes such as gloss, satin, or matte according to the ship type.
Weathering Techniques
Weathering makes the ship look realistic by simulating wear, rust, and exposure to water. Techniques include:
- Dry brushing to highlight raised areas
- Applying washes to emphasize shadows and grooves
- Using pastel powders to replicate rust, dirt, or salt stains
Adding Small Fittings
Miniature ladders, handrails, and portholes enhance realism. Thin wire or photo-etched parts are ideal for these intricate details.
Sail and Fabric Detailing
Sails and other fabric components dramatically affect the model’s overall realism.
Cutting and Shaping Sails
Use lightweight fabric or fine paper. Cut edges carefully and prevent fraying with minimal glue or heat.
Adding Seams
Simulate stitching with fine thread or thin paint lines. Visible seams contribute to historical accuracy.
Natural Positioning
Sails should appear filled with wind. Slight curves or folds prevent a flat, unrealistic appearance.
Painting Miniature Accessories
Painting small components such as lifeboats, deck fittings, and cannons enhances authenticity.
- Apply a uniform base coat first
- Use layering to add shadows and highlights
- Paint intricate details with fine brushes for knobs and handles
- Seal painted surfaces with varnish to protect against damage
Displaying Your Detailed Ship Model
After detailing, proper display is essential to preserve your work and showcase craftsmanship.
- Use acrylic or glass display cases to protect from dust, sunlight, and accidental contact
- Soft LED lighting highlights intricate details without heat damage
- Dioramas or custom bases simulate water, docks, or shipyards for added realism
- Nameplates with ship name, scale, and historical information provide a professional touch
Seasonal and Long-Term Care
Environmental factors affect the longevity of ship models.
- Maintain stable humidity to prevent wood from swelling or shrinking
- Keep moderate moisture levels to avoid cracking in dry conditions
- Check for pests and place silica gel packs under display bases to prevent moisture damage
- For long-term storage, disassemble fragile components, wrap in acid-free tissue, and store in a padded, climate-controlled box
Common Mistakes to Avoid
- Handling the model too frequently, which can deposit oils and dirt
- Using harsh cleaning sprays or household polishes
- Exposing the model to direct sunlight or heat sources
- Overcrowding multiple models in a single display area
- Skipping regular inspection of rigging and fittings
FAQs
1. How can I make my ship model more realistic?
Focus on precise rigging, miniature deck fittings, sail shaping, detailed painting, and subtle weathering to enhance realism.
2. What tools are essential for advanced detailing?
Fine-tip tweezers, hobby knives, micro paintbrushes, magnifiers, miniature clamps, and micro drills are crucial for intricate work.
3. Can beginners use advanced detailing techniques?
Yes. Beginners can start with small details and practice gradually, advancing to complex techniques as skills improve.
Conclusion
Advanced detailing transforms ordinary ship models into realistic, collectible masterpieces. By mastering rigging, deck and hull detailing, sail shaping, miniature accessories, painting, and weathering, your model gains authenticity, historical accuracy, and visual appeal. Proper display and care ensure that your efforts are preserved, allowing your ship model to remain a centerpiece admired by collectors and hobbyists for years.
Comments