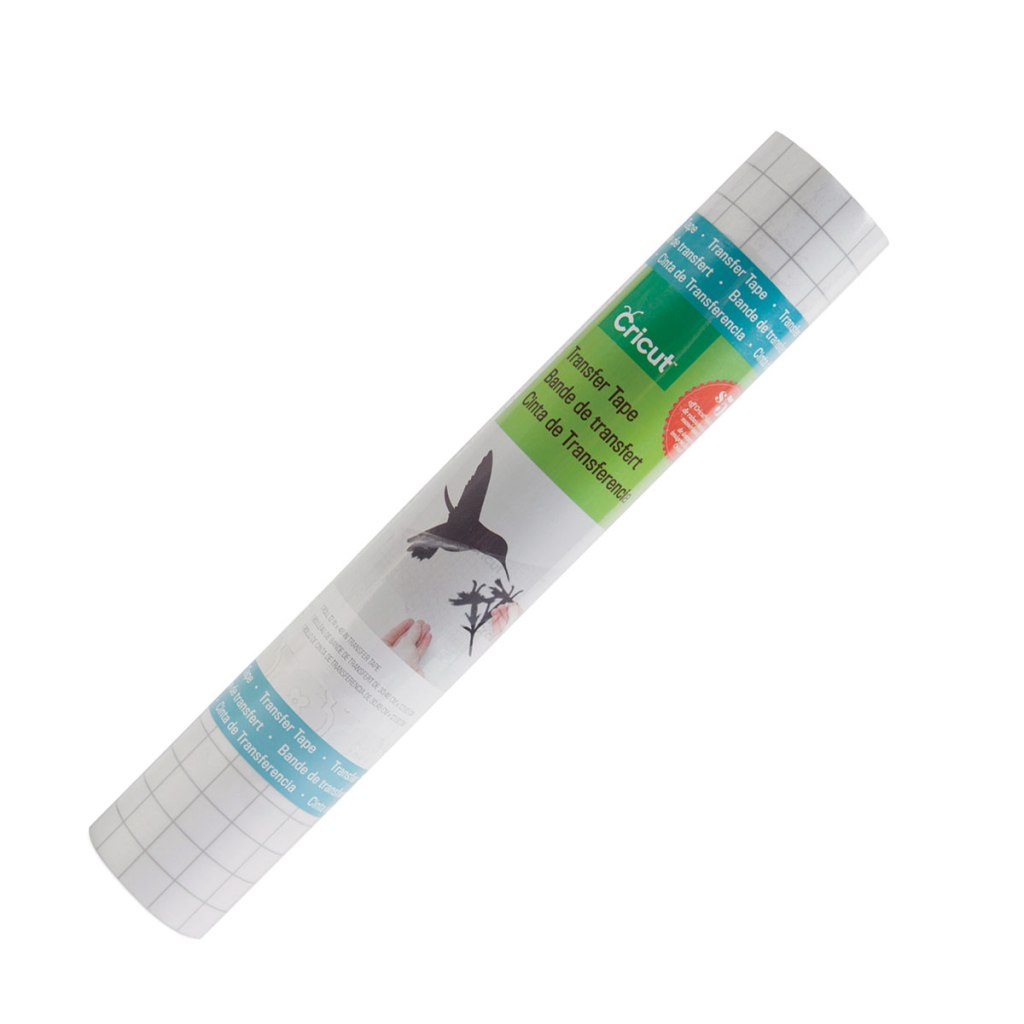
We are about to discuss how to use transfer tape with Cricut in detail. Learn the basics of using transfer tape on vinyl. Also, you will get some tips on using the transfer tape in the end. So, if you are new to using this, read the blog completely.

But before moving on to how to use it, you should know about the use of transfer tape. Sometimes, we are unable to transfer the adhesive vinyl design to the surface appropriately. It becomes even more challenging when you transfer more than one piece to be oriented properly. Here is the guide to help you.
What Are The Types Of Cricut Transfer Tape?
There are two main types of Cricut transfer tape: regular and strong grip transfer tape. Regular transfer tape is used commonly in daily use, such as premium vinyl, permanent vinyl and foil vinyl, and anything that doesn’t have a heavy nature. And the Cricut strong grip transfer tape is used for glitter vinyl. As we know, glitter is a thick material, and it needs a strong grip to be held. Hence, Cricut has specialized tape for such heavy materials.
Why Use Transfer Tape?
If you have trouble transferring your adhesive vinyl design from the backing paper to the surface in the correct place? It is more troublesome when you have more than one piece and have to place them connected. That’s where the transfer tape helps you make everything easier. It helps hold your material in place while you are about to cut it.
How To Use Transfer Tape With Cricut?
The first step is to cut a design from adhesive vinyl with your Cricut machine and remove all the excess vinyl from your design. So, now you are ready with the design, you need to transfer and take the transfer tape.
Start by cutting the transfer tape a little larger than your design. The transfer tapes can be used longer before you throw them. So, you may want to leave it a little larger for your projects.
Then, peel the backing paper so that you can again put the transfer tape on it.
Now, place the transfer paper on the design and burn it down well. A scraper would work well for this. Otherwise, you can use an old gift card.
I usually turn my piece over and pull out the backing paper, but you can pull out the transfer paper. Your design should stay clear on the tape. If it’s unclear, press down again and go with the scraper. Then try to lift it again.
Finally, your design is on the tape; now, you can take it over and place it on your project.
Next, again press the vinyl down and burn it well once again.
And then peel back the transfer tape. Ensure that your vinyl sits well on your project surface. If it isn’t fixed properly, replace the tape and burn it a little more before lifting it the second time.
Tips And Tricks For Using Transfer Tape
I have wrapped some transfer tips for you while using transfer tape. My steps are simple and will help you with the appropriate placement of your transfer tape.
Rather Than Peeling, Fold The Backing Paper
Instead of peeling the transfer paper and removing the backing paper immediately, try to fold one edge of the paper backing. Hence, only one side of the adhesive decal is uncovered. It will simply allow you to arrange the decal without getting stuck before time.
And then, when you are satisfied with the placement, press down on the decal’s edge and peel off the remaining backing with smoothing out the decal. This technique really works well.
Reuse Your Transfer Tape
As we have discussed previously, you can use the transfer tape multiple times, take the benefit and save the tape for later projects. So, the next time you peel off the transfer tape, don’t throw it and save it for the next project.
Use Snipping Transfer Tape While Applying To Curved Surfaces
This is a simple trick to use with curved surfaces like mugs or vases. While moving a design from a flat surface to a curved one, there are many chances that the vinyl decal will get wrinkled. To prevent this, use scissors to fix your transfer tape. It will help you in avoiding folds and wrinkles.
See what I made by using this technique. As the mug has a curved surface, it’s perfect to use snipping transfer tape here. It allows you to decal easily around the curved surface, just like it did on this mug. I hope now you know how to use transfer tape with Cricut. Try making your project using Cricut transfer tape using the tips in this blog for the best results.


Comments