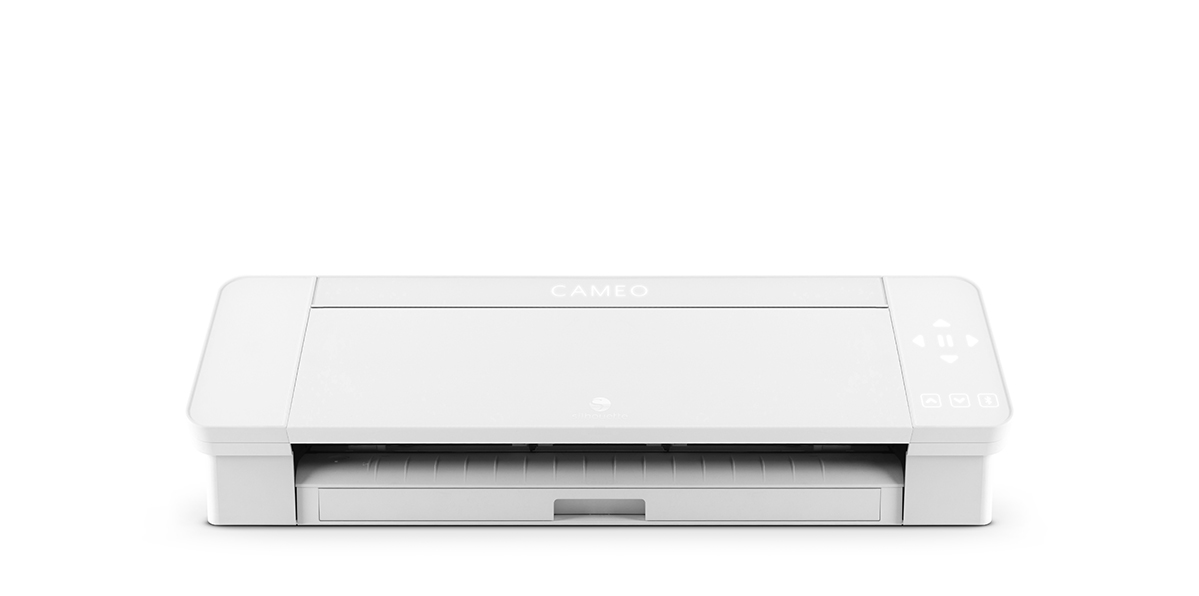
Before moving on to how to set up the Silhouette Cameo 4, let’s get to know about the machine a little. Silhouette Cameo 4 is a die-cutting machine that helps you create a variety of craft projects by cutting more than 100+ different types of materials. This cutting machine allows you to cut paper, leather, fabric, chipboard, and many other materials.
You can create custom prints at your home and use the Silhouette Cameo to cut them exactly how you want them. You can create custom stickers, printed heat transfer decals, temporary tattoos, and more.
Silhouette Cameo 4 will be the best companion if you are a crafter and want to create a new craft project. You must be thinking, how to start if you are new to this machine? Well, nothing to worry about. We all start with the basics, so let’s start with how to set it up.
After purchasing the Silhouette Cameo 4, you’ll need to unload it and set it up correctly to get the most out of it. You can use this setup guide to see what you need to do:
Step 1: Check The Items Of the Package
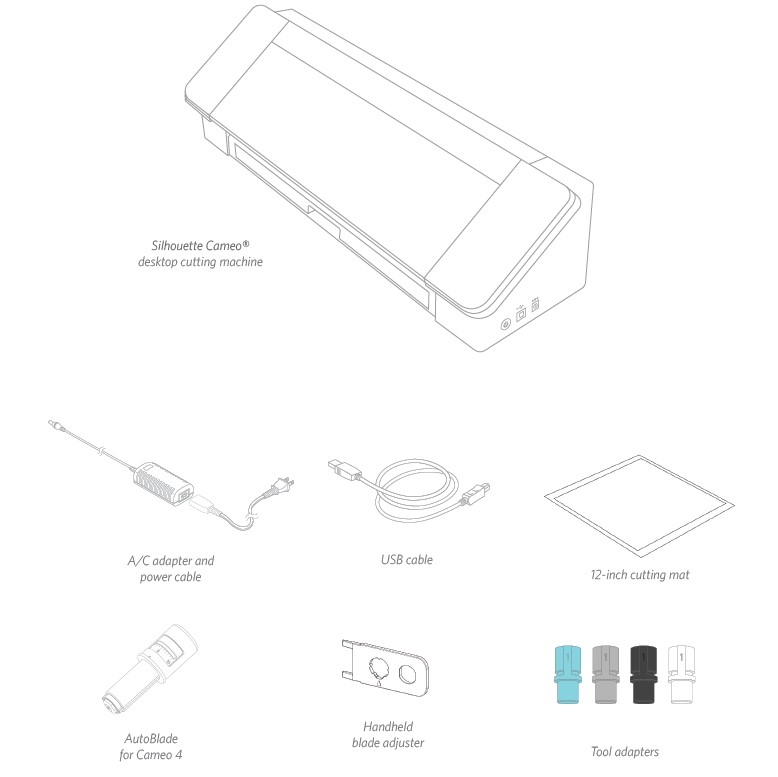
Check to ensure that your Silhouette Cameo 4 package contains all of the following pieces:
- Silhouette Cameo 4
- A USB cable
- AutoBlade
- Handheld blade adjuster
- 4 tool adapters
- 12-inch mat
- A/C adapter and power cable
Step 2: Remove Packaging From The Machine
There are strips of plastic tape, cardboard, and foam to hold the Cameo’s moving parts in place during shipment to prevent damage to the Cameo 4 machine.
Take the Silhouette Cameo 4 out of the package and remove the strips of plastic tape holding the cover and any Cameo 4 machine parts in place.
Remove the 3 tabs that hold the plastic cover on the front of the machine in place; you will need to remove the two parts of the side panels and the top piece of your machine.
After that, lift the cover and slide it back. Remove the plastic tape, cardboard insert, and any foam pieces you see.
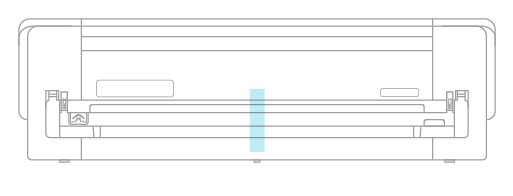
Remember to remove the plastic tape strip on your machine’s back while holding the crosscutter.
Step 3: Register Your Cameo 4 Machine
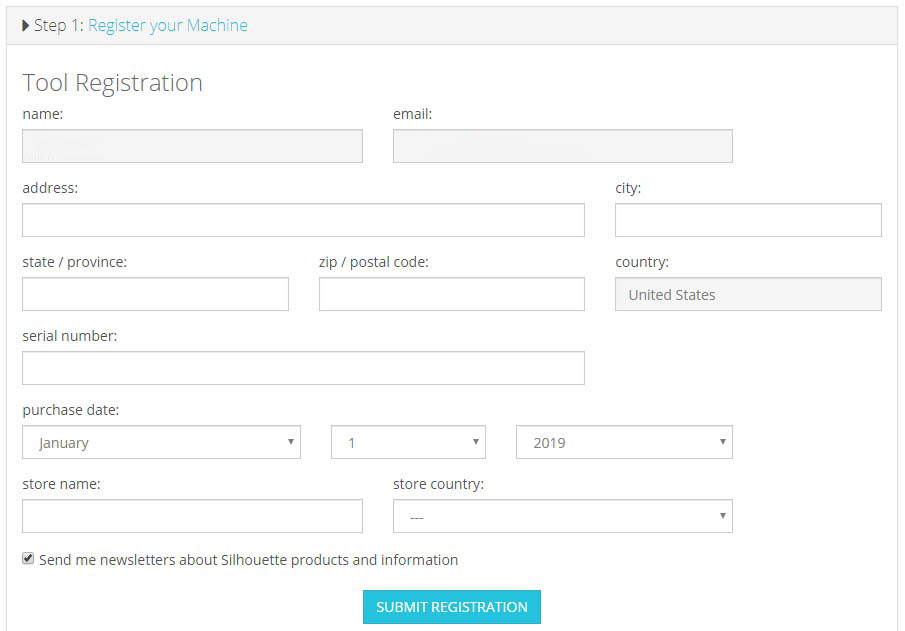
Now, visit SilhouetteAmerica.com/setup to take you through all the appropriate instructions to set up the machine. The first thing you need to do is create a Silhouette account and register the machine if necessary. Finalizing this direction will give you access to 100+ free designs in the Silhouette Library.
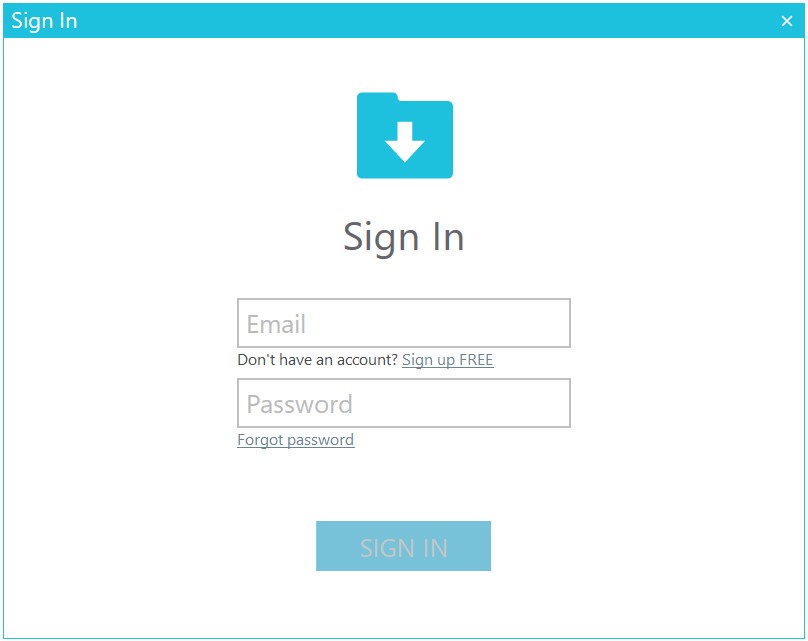
It’s the first screen you will visit. If you already have a Silhouette account, hit the Sign In link. Fill in the details. When you are completed, press the Submit Registration button.
After you’ve clicked the Sign In link and entered your login credentials, you will visit this screen, which you will use to register the machine. You will find the serial number on a sticker on the machine’s back, above the crosscutter cartridge on the right side.
This step also gives you warranty details, if applicable. You can return to this section page anytime to check the warranty.
Step 4: Download & Install Silhouette Studio® Software
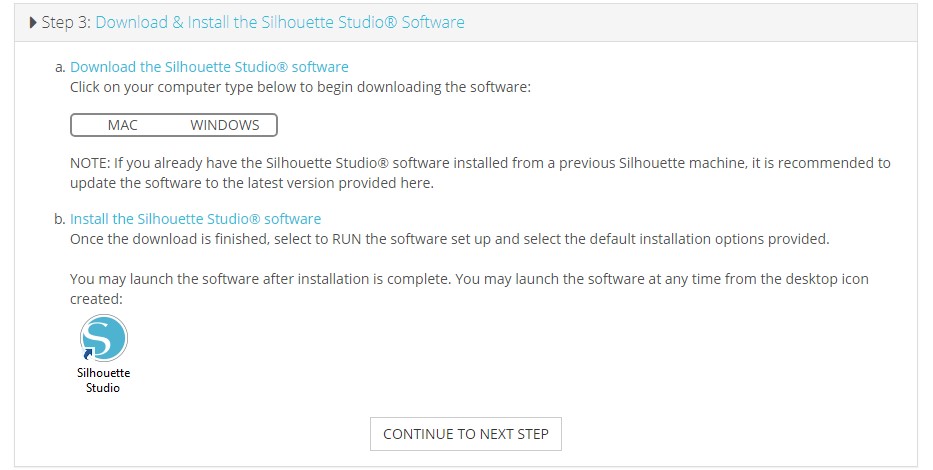
You should try the following instructions to download the Silhouette Studio® software on your PC. Please be aware that download speeds differ depending on the Internet. Google Chrome is one browser that you can use. This means that the download will look different in each browser.
- As your initial step, head over to the official website of Silhouette.
- Select Mac or Windows as your operating system from the drop-down menu.
- Under Silhouette Studio or Mint Studio, look for the drop-down menu.
- After that, hit the Download button to begin the download process.
- Click on the icon to open the Silhouette Studio® software on the screen.
Once the software is downloaded, the installation procedure differs on Windows or Mac computers. Nevertheless, each device is capable of guiding you via the process of downloading the Silhouette Design Store. If you are searching for installation procedures, then follow the steps given below.
- Get permission from the administrator to install the Silhouette Studio® software.
- Then, use your login ID and password on your computer.
- After that, get login information if you’re not an admin.
- And then proceed with the installation process in the next step.
- Now, you need to read the license agreement carefully.
- At last, click on the “I Agree” button to end the procedure.
This software is necessary for the Cameo 4 machine to run, so don’t skip this step.
Step 5: Connect Your Cameo 4 Machine
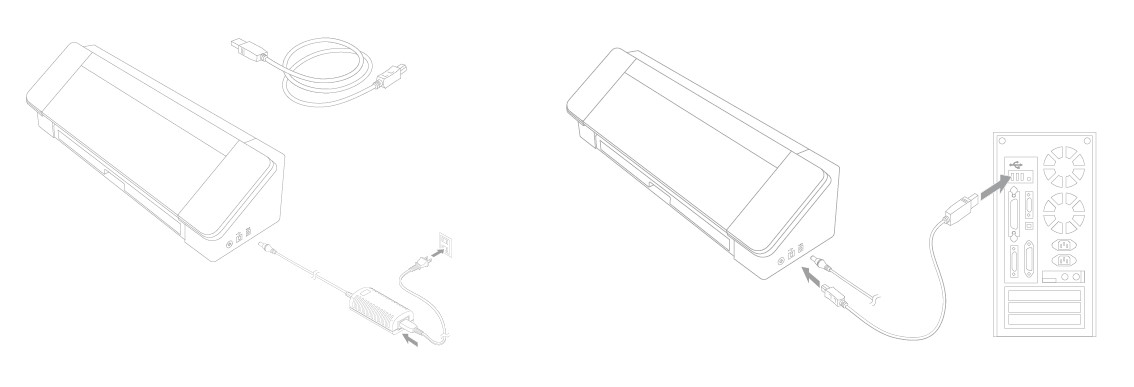
First, connect the Cameo 4 machine to the electric power supply. Begin by connecting the cable, then the adapter, and plug the cable into the machine. Plug the power cable into an electric wall socket.
After that, connect the machine to your PC via a USB cable. Next, hit the Power button to turn on the machine.
If you haven’t already done so, open Silhouette Studio® software on your PC. Go to the Send tab in the top right corner of the screen to open the Send panel. Confirm that the machine is connected and shows the “Ready” status.
You must tap the machine icon and select the machine model to connect properly.
Now that the machine is unloaded and connected, you can start creating in Silhouette Studio® software and cutting with the Silhouette Cameo 4.





Comments