


Projector distance is a critical factor in achieving a sharp and well-aligned image. Many users ask why is my projector blurry, projector blurry, or my projector is blurry when trying to fill a large screen like 120 inches. Incorrect throw distance can cause soft edges, pixelation, and keystone distortion. In this blog, we will explore how to determine the correct distance for a 120-inch screen and how to fix blurry projector issues caused by improper placement.
Step 1: Understand Throw Distance
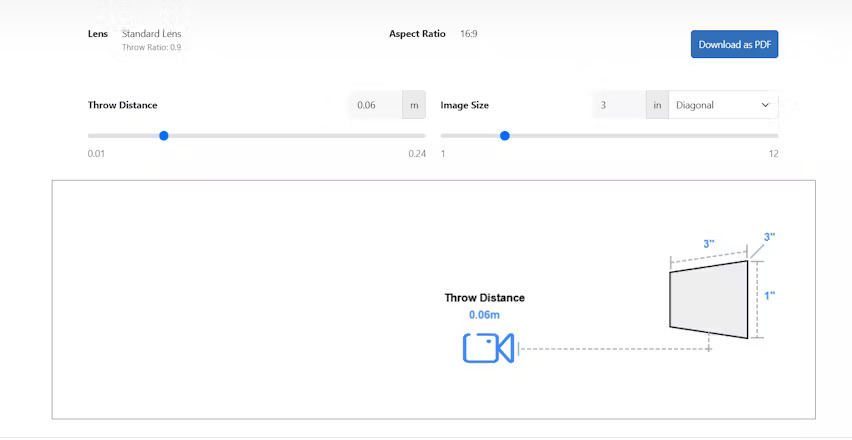
- Throw distance is the space between the projector lens and the screen.
- Every projector model specifies a recommended range for different screen sizes.
- Being outside this range often leads to my projector is blurry or projector blurry problems.
Step 2: Calculate the Ideal Distance
- Check your projector’s manual for the throw ratio, typically written as X:1 (for example, 1.5:1).
- Multiply the screen width by the throw ratio to find the optimal distance.
- For a 120-inch diagonal screen (approximately 105-inch width), a 1.5:1 throw ratio requires the projector to be about 13 feet away.
Step 3: Adjust Zoom and Focus
- Use the projector’s zoom feature to fit the image perfectly on the screen.
- Fine-tune the focus ring or electronic focus to ensure sharpness.
- Proper focus resolves why is my projector blurry concerns at long distances.
Step 4: Consider Lens Quality
- Lower-quality lenses may struggle to maintain sharpness across large screens.
- High-quality lenses provide uniform clarity from center to edges.
- Ensuring lens quality helps prevent my projector is blurry issues.
Step 5: Minimize Digital Keystone
- When the projector is correctly placed, keystone correction should be minimal.
- Excessive digital keystone reduces resolution and increases blurry projector problems.
- Use lens shift and physical alignment first to maintain sharpness.
Step 6: Optimize Room Lighting
- Large screens often appear softer in bright rooms.
- Control ambient light using curtains, blinds, or dimmers to enhance clarity.
- Proper lighting reduces why is my projector blurry complaints.
Step 7: Test Viewing From Multiple Seats
- Sit in various positions to check for sharpness and brightness.
- Viewing too close can make pixels visible and image appear blurry.
- Correct seating distance ensures a crisp image for everyone.
Step 8: Adjust Screen Height and Alignment
- Ensure the projector is level with the screen and centered horizontally.
- Vertical misalignment may cause soft edges or slight blur in corners.
- Proper alignment fixes projector blurry issues for large screens.
Tips for Proper Projector Distance for a 120-Inch Screen
- Use the projector’s throw ratio to calculate optimal distance.
- Adjust zoom and focus after placement.
- Minimize digital keystone and use lens shift for precise alignment.
- Control ambient light for maximum perceived clarity.
- Test from multiple viewing positions to ensure uniform sharpness.
Conclusion
Maintaining the correct projector distance is crucial for achieving a sharp, clear image on a 120-inch screen. Many users ask why is my projector blurry, projector blurry, how to fix blurry projector, or my projector is blurry, and throw distance is often the cause. By calculating the ideal distance, adjusting zoom and focus, and optimizing alignment and lighting, you can enjoy a crisp and immersive viewing experience. Proper placement ensures all viewers experience a clear, distortion-free image without blurry projector issues.
Comments