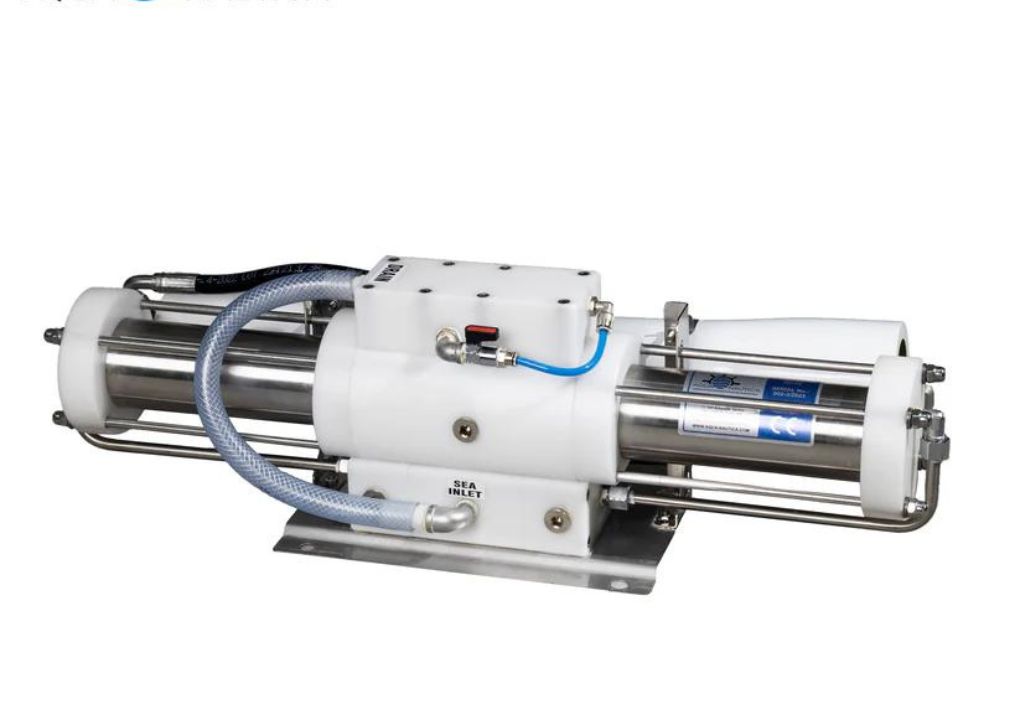
Installing a water maker on your sailboat can significantly enhance your cruising experience, providing a reliable source of fresh water at sea. Proper installation is crucial for maximizing the efficiency and reliability of your water maker. Here’s a step-by-step guide to help you install your water maker professionally and ensure it performs optimally.
1. Planning and Preparation
Assess Your Boat's Space and Layout:
Before purchasing a water maker, carefully assess the available space on your sailboat. Identify potential installation sites, considering accessibility, ventilation, and proximity to power and water sources. A well-planned layout ensures a smoother installation process and optimal performance.
Choose the Right Water Maker:
Select a water maker that suits your sailboat's size, water consumption needs, and budget. Consider factors such as the unit's capacity (gallons per hour), energy consumption, and ease of maintenance. Consulting with experts or fellow sailors can help you make an informed choice.
Gather Necessary Tools and Materials:
Ensure you have all the necessary tools and materials for the installation. Common tools include wrenches, screwdrivers, hose clamps, and sealant. Having everything ready beforehand saves time and avoids interruptions during the installation.
2. Installing the Water Maker
Secure the Unit:
Mount the water maker unit securely in the chosen location. Use sturdy brackets and fasteners to prevent movement or vibrations, which could damage the unit or reduce its efficiency. Ensure the unit is accessible for maintenance and inspections.
Plumbing Connections:
Connect the intake hose to a seacock or through-hull fitting. Use reinforced hoses to withstand the pressure and ensure leak-free connections with hose clamps. Route the intake hose to the pre-filter and then to the water maker’s intake port. Similarly, connect the product water hose to the storage tank and the brine discharge hose to an overboard discharge fitting. By following these steps, you ensure that your water maker for sailboats operates efficiently and reliably.
Electrical Connections:
Follow the manufacturer’s guidelines for electrical connections. Connect the water maker to your boat’s power supply, ensuring it is adequately grounded. Use marine-grade wiring and connectors to prevent corrosion and provide a reliable connection. It’s often best to consult a marine electrician for this step to ensure safety and compliance with electrical standards.
3. Initial Setup and Testing
Prime the System:
Before starting the water maker, prime the system by filling it with water. This helps prevent damage to the pump and other components. Open the intake seacock and allow water to flow into the system, checking for leaks and ensuring a steady water supply.
Run Initial Tests:
Turn on the water maker and monitor its operation closely. Check all connections for leaks and ensure the unit operates within the specified parameters. Measure the water production rate and quality, adjusting settings if necessary. Refer to the user manual for specific instructions on calibrating and fine-tuning the system.
Check Water Quality:
Test the quality of the produced water using a TDS (total dissolved solids) meter. The TDS level should be within the acceptable range for drinking water. If the readings are too high, check for issues such as clogged filters or membrane fouling and address them accordingly.
4. Optimizing Efficiency and Reliability
Regular Maintenance:
Implement a routine maintenance schedule to keep your water maker in top condition. This includes regularly cleaning or replacing filters, inspecting hoses and connections for wear, and flushing the system to prevent fouling. Following the manufacturer’s maintenance guidelines ensures longevity and optimal performance.
Monitor and Adjust:
Monitor the water maker’s performance regularly and make adjustments as needed. Pay attention to changes in water quality, production rate, and power consumption. Addressing issues promptly can prevent major problems and maintain efficiency.
Protect Against Contaminants:
Install pre-filters to protect the water maker from contaminants such as sand, debris, and algae. Regularly clean the intake area to prevent blockages and ensure a steady water supply. Using high-quality filters and replacing them as needed enhances the system’s reliability.
5. Troubleshooting Common Issues
Low Water Production:
If the water maker produces less water than expected, check for clogged filters, low intake water pressure, or issues with the membrane. Cleaning or replacing components as needed can restore optimal performance.
Poor Water Quality:
High TDS readings or poor water taste may indicate membrane fouling or damage. Regularly flushing the system with fresh water and cleaning solutions can prevent and resolve these issues.
Leaks and Electrical Issues:
Inspect hoses and connections for leaks, tightening or replacing clamps as needed. For electrical issues, check wiring connections and ensure proper grounding. Consulting a professional for complex problems is always advisable.
Fresh water at sea, made easy!
Following these professional installation tips ensures your sailboat’s water maker operates efficiently and reliably. Proper planning, careful installation, regular maintenance, and prompt troubleshooting are key to getting the most out of your water maker for sailboats. With the right approach, your water maker for sailboats will provide you with a continuous supply of fresh water, enhancing your sailing adventures and making your time at sea more enjoyable. For top-quality water makers and expert advice, visit Cruiser Water Makers and Gear LLC—your trusted partner in marine water solutions.


Comments