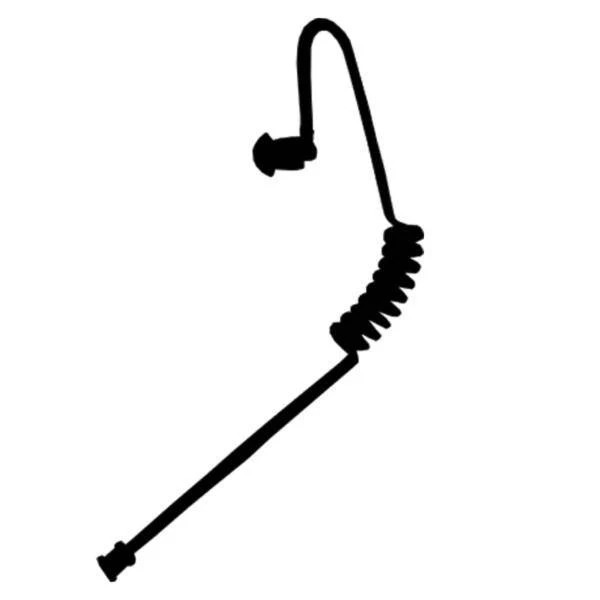
Why Replace the Acoustic Tube?
The acoustic tube is a crucial component of your earpiece, responsible for transmitting sound from the radio to your ear. Over time, the tube can accumulate dirt, moisture, and earwax, which can block sound transmission. Additionally, the tube material can degrade, leading to cracks or hardening that affects comfort and sound quality. Regular replacement ensures clear communication, essential for professionals in security, law enforcement, and other fields where reliable communication is critical.
Tools and Materials Needed
Before starting the replacement process, gather the necessary tools and materials:
A new acoustic tube (compatible with your earpiece model)
A pair of small scissors or a sharp knife
A clean, dry cloth or tissue
Optional: rubbing alcohol and cotton swabs for cleaning
Step-by-Step Replacement Process
Remove the Old Acoustic Tube:
Carefully detach the earpiece from the radio if it’s still connected.
Locate the end of the acoustic tube attached to the speaker (the part that sits in or near your ear). This is usually secured by a small connector or simply pushed onto the speaker.
Gently pull the tube away from the speaker. Replacement Acoustic Tube If it’s stuck, you might need to twist it slightly to loosen it. Avoid using excessive force to prevent damaging the speaker.
Prepare the New Acoustic Tube:
Take your new acoustic tube and inspect it for any damage or defects.
If the new tube is longer than the old one, measure and cut it to the desired length using scissors or a knife. Ensure the cut is clean and straight to avoid any sound distortion.
Clean the Earpiece Speaker:
Before attaching the new tube, it’s a good idea to clean the speaker. Use a dry cloth or tissue to wipe away any debris.
For a more thorough cleaning, lightly dampen a cotton swab with rubbing alcohol and gently clean the speaker’s surface. Let it dry completely before proceeding.
Attach the New Acoustic Tube:
Align the new acoustic tube with the speaker’s connector. Ensure it’s positioned correctly to avoid any bends or kinks.
Gently push the tube onto the connector until it’s securely attached. You should feel it snugly fit without being loose.
Test the Earpiece:
Reconnect the earpiece to your radio and perform a sound check. Radio Shoulder Holster Listen for any distortions or issues. If the sound is clear, you’ve successfully replaced the tube.
Make any necessary adjustments to the tube length or attachment if you notice any problems.
Maintenance Tips
To prolong the life of your new acoustic tube, follow these maintenance tips:
Regularly clean the tube and speaker to prevent buildup of debris.
Store your earpiece in a dry, cool place when not in use.
Replace the acoustic tube periodically, depending on usage and environmental conditions, typically every six months to a year.


Comments