


Indtrouction
There’s something undeniably impressive about a tall, beautifully frosted layer cake. Whether it’s towering with fluffy sponge or sleek with ganache, a well-made layer Best cakes in Islamabad looks like it came from a high-end bakery — and with a few simple techniques, you can recreate that magic in your own kitchen.
In this guide, we’ll walk through every step of building the perfect layer cake, from baking and stacking to frosting and finishing like a professional. No need for expensive tools or culinary training — just clear instructions, helpful tips, and a little practice.
1. What Is a Layer Cake?
A layer cake is exactly what it sounds like: multiple layers of cake stacked with frosting, cream, or filling between each one. Commonly made with sponge, butter, or chiffon cakes, they’re usually covered in frosting and decorated on the top and sides.
Typical Structure:
- Cake layer
- Filling (buttercream, ganache, fruit compote, etc.)
- Repeat x 2–4 layers
- Frosting outside
- Optional: decorations on top
2. Tools You’ll Need (and Substitutes)
You don’t need a full bakery setup, but a few tools make things easier.
Essentials:
- Offset spatula (or butter knife): For smooth frosting
- Cake turntable (or lazy Susan): For even frosting all around
- Bench scraper: For super clean sides
- Serrated knife: For leveling cake layers
- Parchment paper: For lining pans
- Cake board or plate: For assembly
Pro Tip: No turntable? Place your cake on an upside-down bowl or pan that spins.
3. Baking the Perfect Cake Layers
Beforetacking, you need strong, stable cake layers.
Choose the Right Recipe:
- Dense and moist cakes are easier to stack than crumbly ones.
- Good choices: Vanilla, chocolate, red velvet, lemon, carrot.
Tips for Baking Even Layers:
- Use kitchen scale to divide batter evenly between pans.
- Bake in same-size pans for consistent shape.
- Wrap pans in damp cake strips to prevent doming.
- Cool layers completely before trimming or stacking.
Want super flat tops? Slice off the dome using a serrated knife.
4. Leveling and Trimming the Layers
Layer cakes look best when each layer is even and flat.
How to Level:
- Place the cake on a flat surface.
- Use a serrated knife to slice off the dome.
- Rotate the cake while cutting for an even surface.
Optional: Torte the Layers
If your layers are thick, slice them in half to create more layers and filling. This adds elegance and flavor variety.
A cake with 4 thin layers looks more refined than one with just 2 thick ones.
5. Choosing Your Filling and Frosting
Popular Fillings:
- Buttercream (classic and versatile)
- Cream cheese frosting (great for carrot and red velvet)
- Ganache (rich and indulgent)
- Jam or preserves (add tart contrast)
- Whipped cream (light, but must stay chilled)
Tip: Pair textures and flavors
- Chocolate cake + raspberry jam + dark ganache
- Vanilla cake + lemon curd + whipped cream
- Red velvet + cream cheese frosting
Avoid slippery fillings like fresh fruit or runny jam directly on cake layers — mix with buttercream for stability.
6. Assembling and Stacking Like a Pro
This is where the magic starts.
Step-by-Step:
- Place a dollop of frosting on your cake board to anchor the first layer.
- Add the first cake layer, cut-side down (for stability).
- Spread an even layer of filling — use an offset spatula.
- Repeat with remaining layers.
- Check alignment from the side as you go.
Pro Tip: Use a piping bag to make a “dam” around the edge before adding filling — this prevents it from oozing out.
7. The Crumb Coat: Why It Matters
A crumb coat is a thin layer of frosting that traps loose crumbs before the final coat.
Why It’s Important:
- Keeps crumbs out of your final frosting layer.
- Acts as a primer for smooth application.
How to Apply:
- Thinly spread frosting over the entire cake.
- Chill for 15–30 minutes until set.
- Then apply your final frosting coat.
This step makes a HUGE difference in the final look.
8. Frosting the Final Layer
After your crumb coat is chilled:
Steps:
- Add a generous amount of frosting to the top.
- Use a spatula to push it out and down the sides.
- Smooth the sides with a bench scraper, turning the cake as you go.
- Smooth the top last, dragging the edge toward the center.
Don’t overwork the frosting. A few passes are better than many.
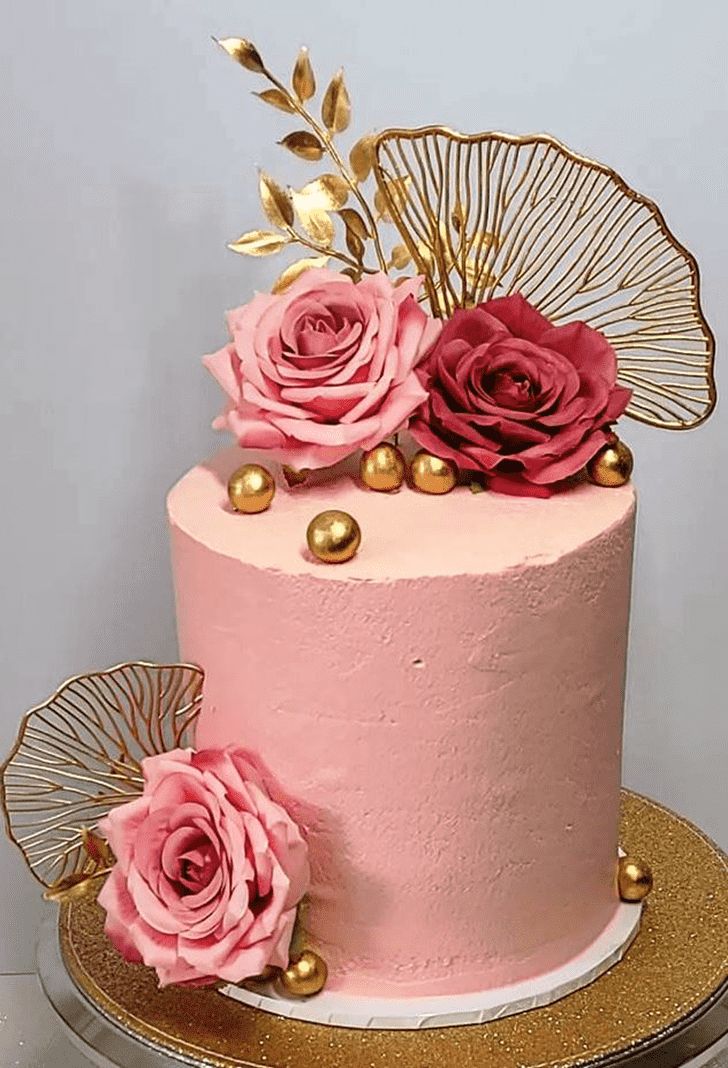
9. Finishing Touches & Decoration
Once frosted, it’s time to finish your masterpiece.
Easy Decorations:
- Swirls or rosettes with a piping bag
- Sprinkles or shaved chocolate on top
- Fresh fruit or herbs (mint, rosemary)
- Ganache drip (see next article)
- Edible flowers or gold leaf
Less is more: 1–2 key elements look more elegant than 5.
10. Storing and Serving Your Layer Cake
Storing:
- Store at room temperature for up to 2 days if frosting is butter-based.
- Refrigerate if using whipped cream or cream cheese.
- Always cover with a cake dome or wrap loosely.
Serving:
- Use a hot knife (run under warm water, then dry) for clean slices.
- Wipe knife between each slice.
- Serve at room temperature for the best flavor.
11Common Layer Cake Mistakes (and How to Fix Them)
MistakeFixLayers slideUse firmer filling; chill before frostingUneven layersLevel cakes with serrated knifeCrumbs in frostingUse a crumb coatLeaning cakeStack layers carefully; chill between stepsToo sweetBalance frosting with tart fillings like jam
12. Mini Layer Cakes and Cupcake Towers
Want a fun twist? Try:
- Mini layer cakes using cookie cutters or 4-inch pans
- Stacked cupcakes with filling in between
- Layer cake slices in jars for portable treats
All the fun of layer cakes, in a smaller size
13. Popular Layer Cake Flavor Combos
CakeFillingFrostingChocolateSalted caramelGanacheVanillaRaspberry jamVanilla buttercreamRed velvetCream cheeseCream cheeseLemonLemon curdWhipped creamCarrotCinnamon buttercreamCream cheese
14.Practice Makes Perfect
Layer cakes take some practice — but once you’ve nailed the basics, you can start playing with:
- Different shapes (square, hexagon)
- Multiple tiers (use dowels for support)
- Color gradients (ombre effect)
- Patterns (striped layers, checkerboards)
But always come back to the core skills: level, stack, fill, crumb coat, and frost.
Conclusion
Layer cakes may look intimidating, but once you understand the process — from baking even layers to applying a crumb coat and creating a smooth finish — they become one of the most satisfying desserts to create.
Take your time, chill between steps, and enjoy the process. Whether you're making a two-layer cake for a casual family gathering or a four-tier showstopper for a birthday, you now have the tools to stack, frost, and finish like a pro.
Comments