Here are the 9 steps you can follow to fill engraved areas without any trouble:
1. Choose the right surface:
Ensure the surface you’re working on is suitable for the Sharpie ink. Non-porous surfaces like metal, glass, or plastics tend to yield the best results. The smoother the surface, the better the ink adherence.
2. Prepare the engraving:
After the laser engraving process, there might be residual debris or dust within the engraved areas. Gently clean the surface using a soft cloth or brush to remove any loose particles. This step ensures the Sharpie ink adheres smoothly.
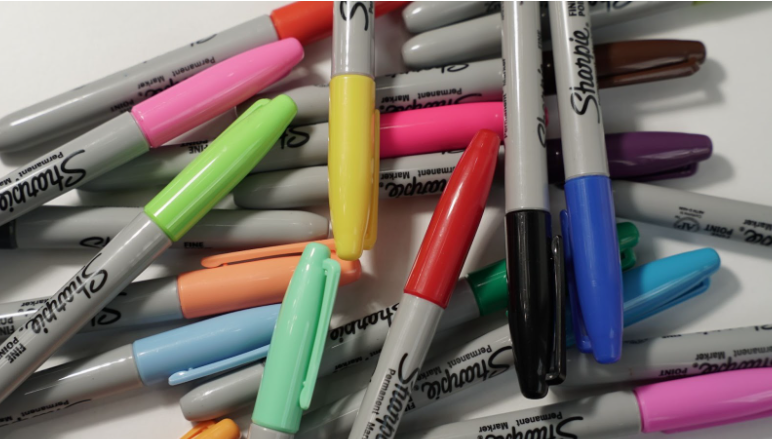
3. Select your sharpie colors:
Choose Sharpie markers that complement your design or the material of the engraved item. Fine or ultra-fine tips work well for the precise filling of smaller engraved areas.
4. Coloring the engraved areas:
Begin filling the engraved portions of your item with the Sharpie marker of your choice. Apply the ink directly over the engraved lines or recessed areas. Take your time and work steadily to avoid smudges or going over the intended area.
5. Let the ink settle:
Allow the Sharpie ink to dry completely. Depending on the surface and thickness of the ink applied, this may take a few minutes to an hour. Patience is key to ensure the colors remain vibrant and don’t smudge.
6. Clean up excess ink:
If any Sharpie ink strays outside the engraved areas or if you’re aiming for a more polished look, dip a cotton swab or cloth into rubbing alcohol or acetone. Gently and carefully wipe away any excess ink around the engraved sections. This step helps refine the edges and creates a cleaner finish.
7. Final touches and inspection:
After cleaning up the excess ink, take a moment to review the filled areas. Touch up any spots that need additional coloring or refined edges for a more precise look. Ensure the colors are consistent and well-filled within the engraved lines.
8. Protect the finished piece (optional):
To preserve the Sharpie-filled engraving, consider applying a clear protective coat over the surface. This step can safeguard the ink from potential scratches or fading over time, especially for items frequently handled.
9. Allow for proper curing time (optional):
If you’ve opted for a protective coat, allow sufficient time for it to cure according to the product’s instructions before handling the item again.
Remember, practice makes perfect. Experiment with different Sharpie colors and techniques on spare pieces to gain confidence and refine your filling skills before working on your desired item.
Additionally, be cautious when using rubbing alcohol or acetone, as they may affect certain materials. Always test a small, inconspicuous area first.
Filling engraved areas with Sharpie markers is a creative way to add a personalized touch to laser-engraved items. From customizing metal tags to embellishing glassware, the versatility of Sharpies allows for endless design possibilities.
As a laser engraving company, offering tips and guidance on enhancing laser-engraved products with Sharpies can elevate your customer service. Encouraging clients to explore this method not only adds value to your offerings but also empowers them to personalize their items according to their preferences.
Why you should choose RazorLAB for your laser cutting and engraving needs
RazorLAB is an established online destination for laser cutting and engraving services, serving customers proudly since 2009. We offer a diverse range of services including laser cutting services, engraving, and etching, working with materials such as acrylic, wood, plywood, MDF, fabric, and paper. Choosing RazorLAB means turning your ideas into reality, as we specialize in bringing your designs to life with precision and expertise.
Our swift and efficient laser processes not only save valuable time but also cut down project costs significantly. The hallmark of our service lies in the impeccable quality of the finished products; our laser-cut and engraved items stand out with supreme craftsmanship. Backed by a team of seasoned professionals, RazorLAB’s guarantees excellence, ensuring your project is executed flawlessly. Trust RazorLAB for top-notch laser cutting & engraving services, where innovation meets expertise, delivering nothing short of exceptional results for your creative ventures.
Conclusion
With a few simple steps and the right materials, using Sharpies to fill engraved areas can transform ordinary laser-engraved items into captivating and unique pieces of artistry. So, grab your Sharpies and let your creativity flow to bring life and color to your laser-engraved creations!


Comments