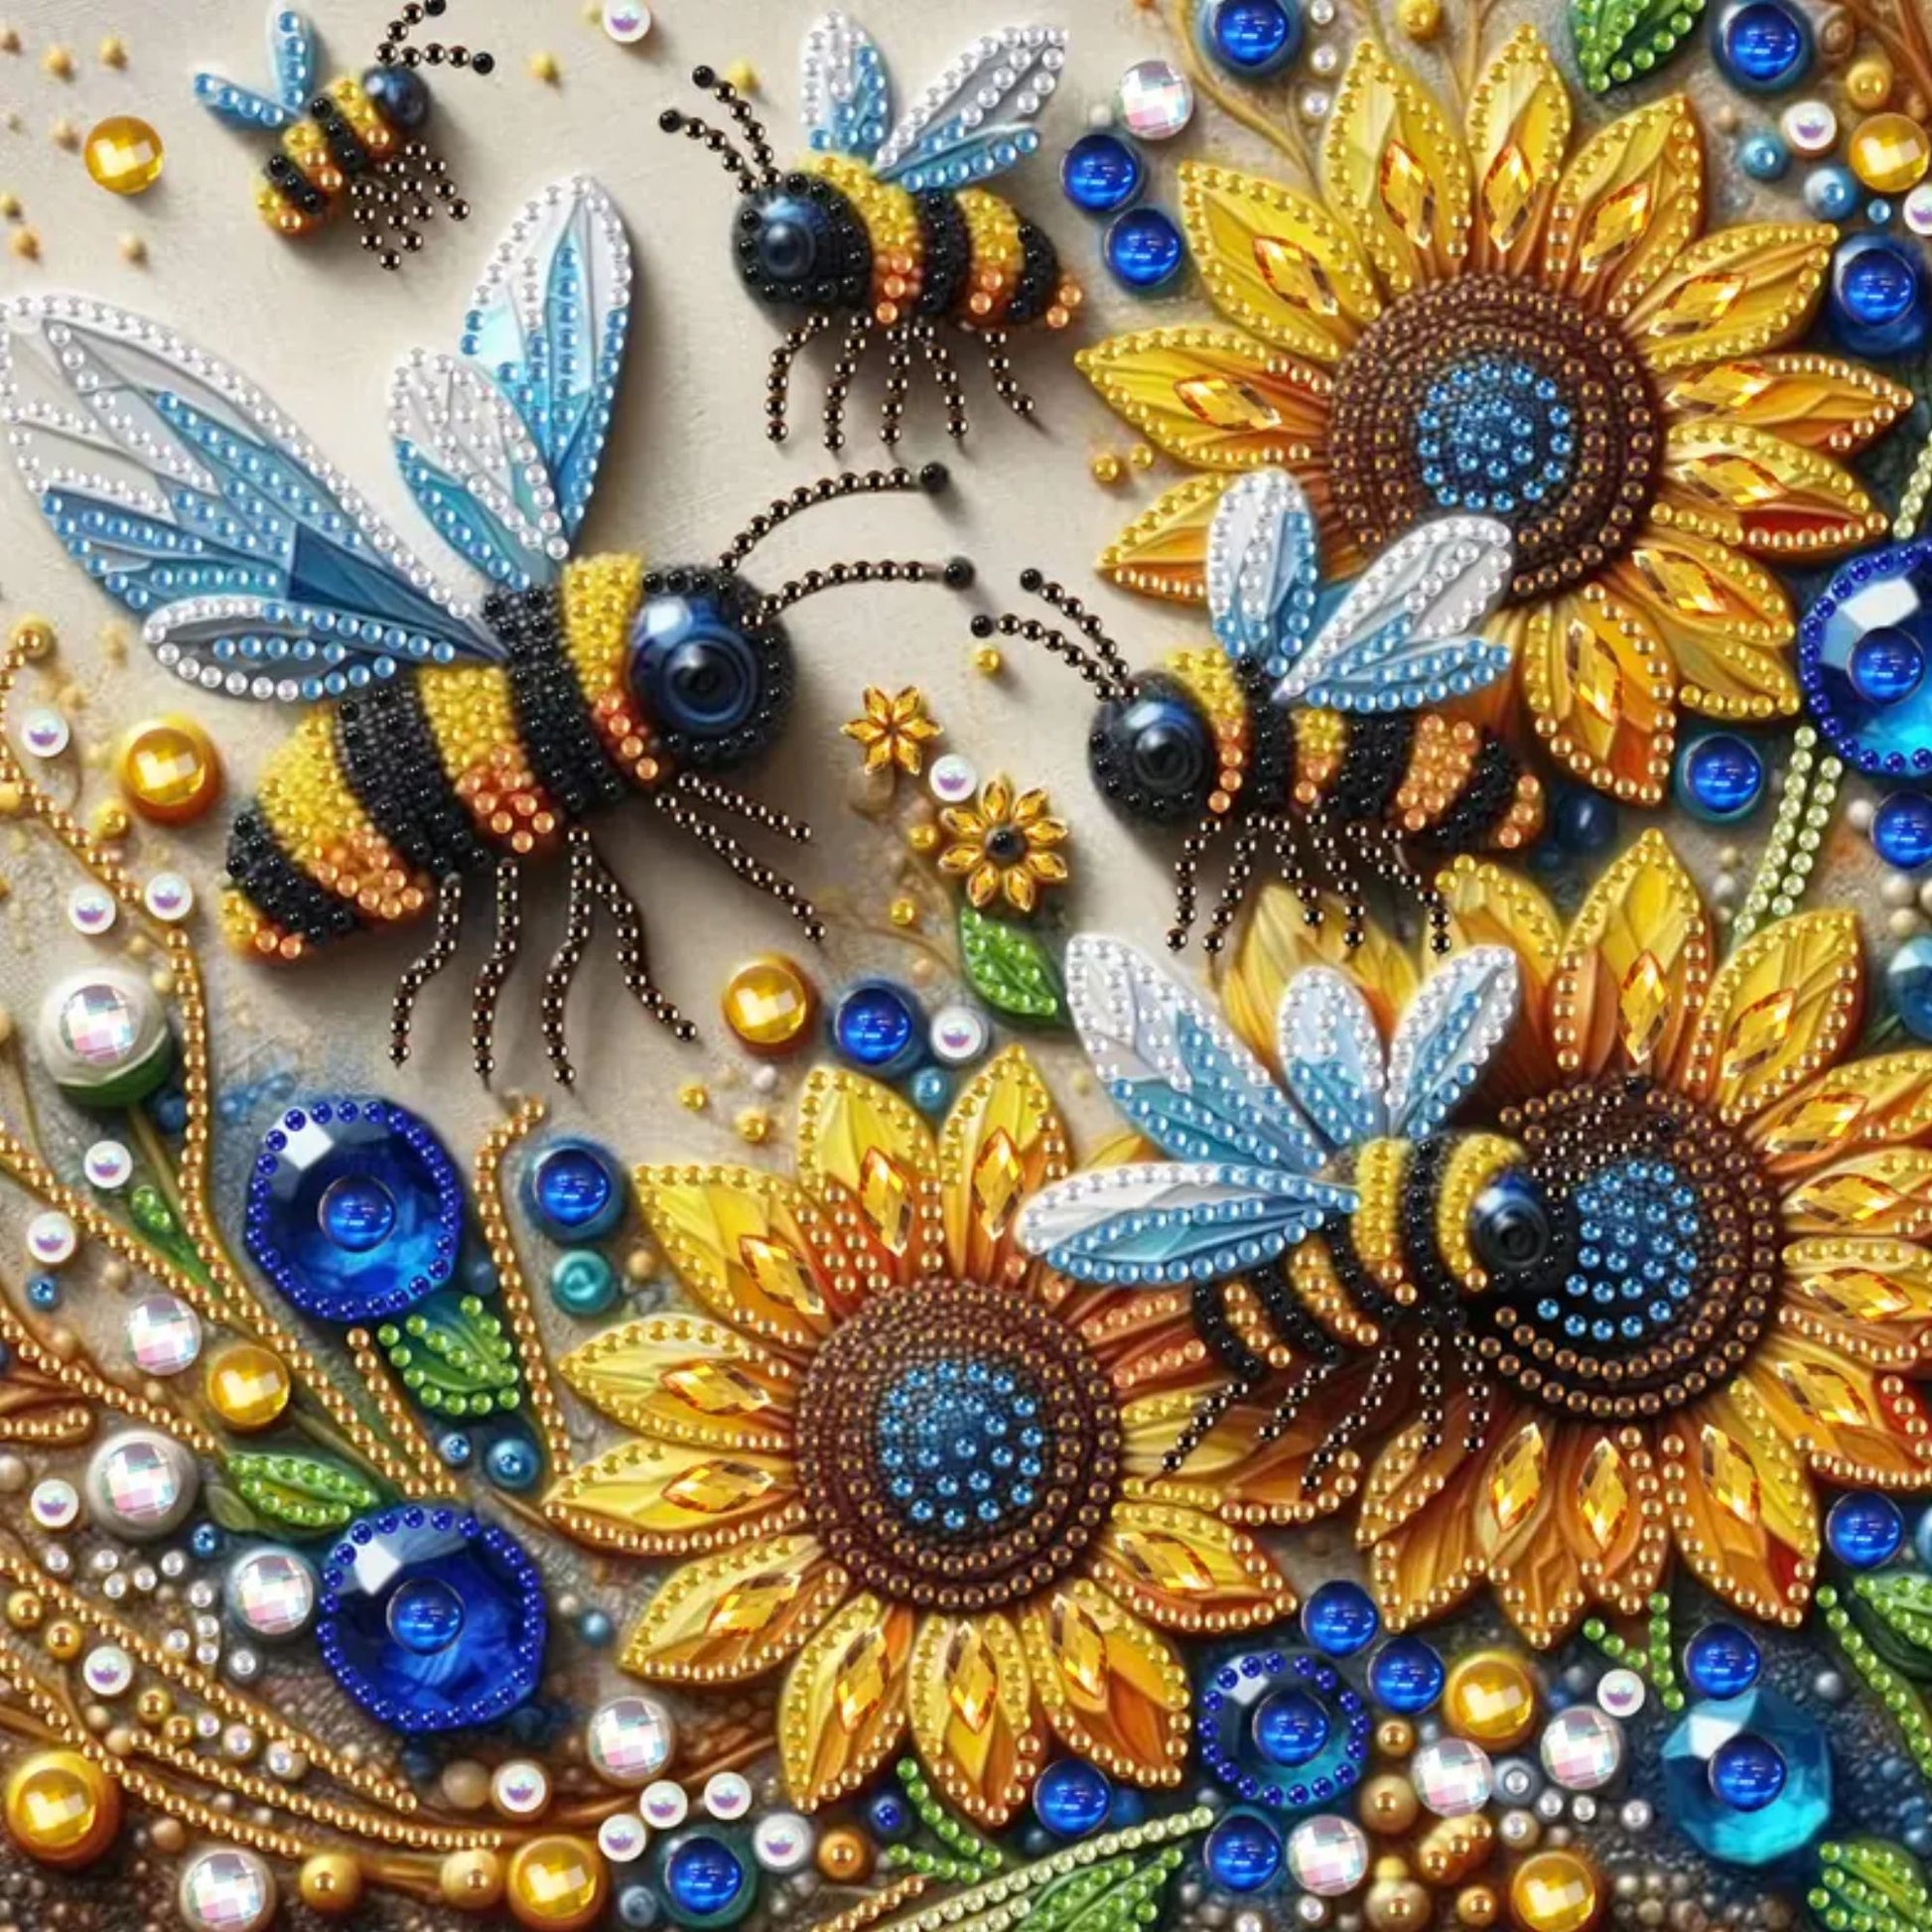
Diamond painting is a relaxing and rewarding craft that allows you to create stunning, shimmering artwork with tiny resin drills. Whether you're a beginner or an experienced enthusiast, achieving a flawless finish requires some smart techniques. In this guide, we'll share essential DIY Diamond Painting hacks and expert tips to perfect your craft.

1. Choose the Right Full Drill Diamond Painting Kits
Before you start, selecting the best full drill diamond painting kits is crucial. Unlike partial drill kits, full drill kits cover the entire canvas with diamonds, resulting in a more vibrant and professional look. Ensure your kit includes:
- A high-quality adhesive canvas
- Clearly printed symbols
- High-resolution image designs
- Enough drills with extra spares
2. Organize Your Drills Efficiently
Dealing with thousands of tiny diamonds can be overwhelming. Use these organizational hacks:
- Label Your Drills: Number your drill bags according to the canvas symbols to avoid confusion.
- Use a Storage Box: Small compartmentalized storage boxes or pill organizers work great for keeping drills sorted.
- DIY Tray Hack: If you misplace your drill tray, a shallow dish or plastic lid can work as a quick alternative.
3. Flatten Your Canvas Before Starting
A wrinkled or curled canvas can make diamond placement difficult. To flatten it:
- Reverse Roll the Canvas: Gently roll it in the opposite direction and let it sit for a few hours.
- Use Heavy Books: Place heavy books on top overnight to smooth out any curls.
- Iron Carefully: If creases persist, place a towel over the back of the canvas and iron on low heat.
4. Improve Adhesion for Better Results
The adhesive on some DIY Diamond Painting canvases may weaken over time. To enhance stickiness:
- Use a Rolling Pin: After placing the drills, gently roll a rolling pin over the canvas to press them firmly.
- Reseal with Clear Glue: If parts of your canvas lose their stickiness, apply a small amount of clear craft glue.
- Work in Sections: Peel the protective film in small sections to prevent dust from affecting the adhesive.
5. Master the Multi-Placer Tool
For large areas of the same color, using the multi-placer tool can speed up the process:
- Apply Wax Properly: Make sure your wax is evenly applied to pick up drills effectively.
- Align Drills Before Placement: Use a straightener or tweezers to ensure uniform placement.
- Practice on a Spare Canvas: If you’re new to the multi-placer, practice before applying on your main project.
6. Prevent Drill Spills and Loss
Losing tiny drills can be frustrating. Prevent spills by:
- Working on a Tray with Raised Edges: This keeps drills from scattering.
- Using a Sticky Lint Roller: A lint roller can quickly pick up any fallen drills from the floor.
- Handling One Color at a Time: Focusing on one color reduces mix-ups and accidental spills.
7. Keep Your Diamonds Aligned
For a professional finish, aligning your drills perfectly is essential:
- Use a Straightener Tool: This helps correct uneven rows and keeps your design looking neat.
- Check Alignment Regularly: Every few minutes, step back and check your work.
- Start from the Bottom: Working from bottom to top reduces smudging and misalignment.
8. Seal Your Finished Diamond Painting
Once your masterpiece is complete, sealing it can enhance durability and prevent drills from falling off:
- Use a Clear Sealer: Mod Podge or spray sealants work well without dulling the shine.
- Apply Evenly: Use a soft brush to spread the sealant gently.
- Allow to Dry Completely: Let it dry for at least 24 hours before framing or displaying.
9. Frame and Display Your Artwork
Show off your hard work by framing your DIY Diamond Painting:
- Choose a Frame Without Glass: This prevents glare and lets the sparkle shine through.
- Use a Stretched Canvas Frame: Attach the painting to a pre-stretched canvas for a gallery-style effect.
- DIY Foam Board Backing: Mount the painting on a foam board for an inexpensive yet stylish display.
Final Thoughts
DIY Diamond Painting is an enjoyable and creative hobby, but achieving a flawless finish requires attention to detail and smart techniques. By choosing high-quality full drill diamond painting kits, organizing your materials, and following these expert hacks, you'll create stunning masterpieces that shine brilliantly for years to come. Happy painting!


.jpeg)
Comments