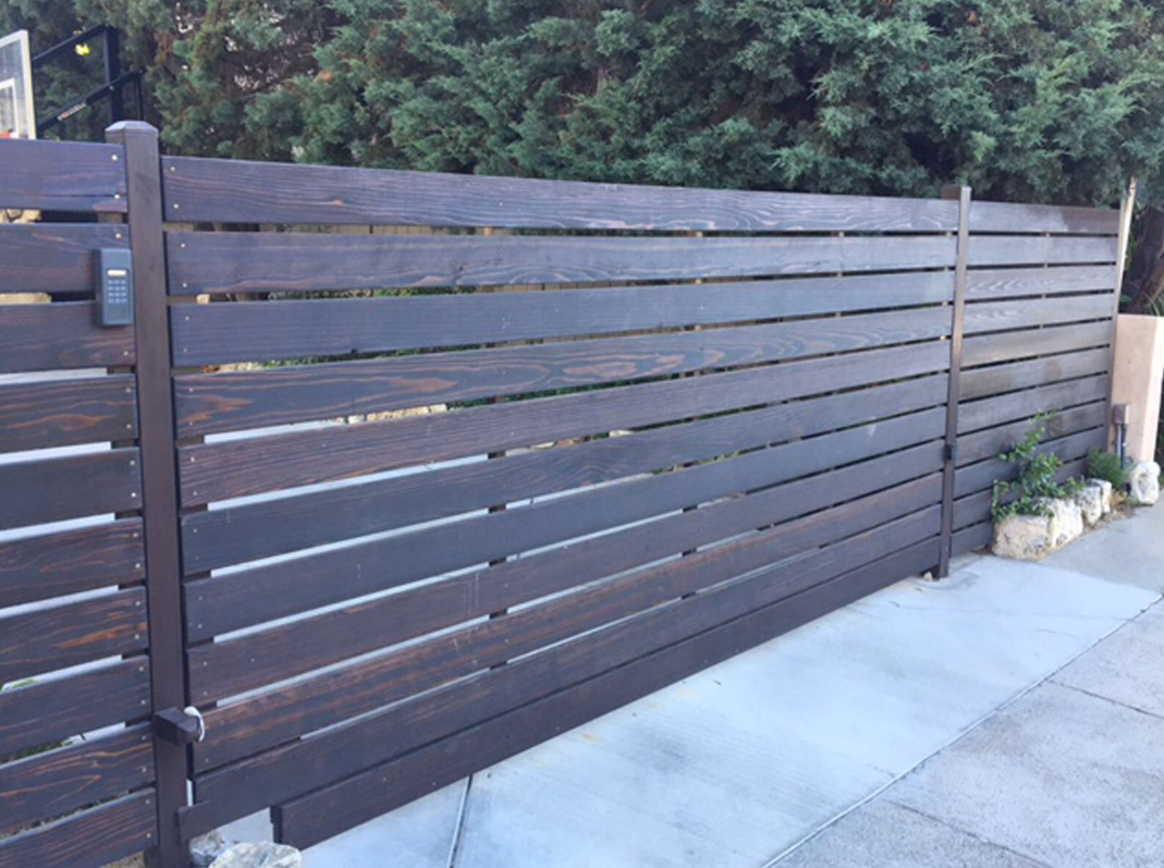
Adding a wooden gate to your property not only enhances its curb appeal but also provides security and privacy. Installing a wood gate may seem like a daunting task, but with the right tools and a clear plan, it can be a rewarding DIY project. In this guide, we'll take you through the step-by-step process of Wood Gate Installation in Los Angeles, ensuring a sturdy and aesthetically pleasing result.
Materials and Tools:
Before you begin, gather the necessary materials and tools:
- Wooden Gate Kit or Materials:
- Gate panels
- Posts
- Hinges
- Latch
- Screws and nails
- Tools:
- Circular saw
- Level
- Screwdriver/drill
- Measuring tape
- Shovel
- Post hole digger
- Carpenter's square
- String line
Step 1: Planning and Design:
Start by planning the design and dimensions of your wood gate. Consider factors such as the gate's purpose, the type of wood, and the desired height. Measure the width of the gate opening to determine the size of your gate panels. Sketch a design, keeping aesthetics and functionality in mind.
Step 2: Choosing the Right Wood:
Select a durable wood species suitable for outdoor use. Cedar and redwood are popular choices due to their natural resistance to decay and insects. Pressure-treated wood is also a practical option for longevity.
Step 3: Digging Gate Post Holes:
Use a post hole digger to create holes for the gate posts. The depth should be at least one-third of the post length. Space the holes according to the width of the gate, ensuring they are level and plumb.
Step 4: Installing Gate Posts:
Place the gate posts into the holes and use a level to ensure they are perfectly vertical. Fill the holes with concrete, following the manufacturer's instructions. Allow the concrete to set before proceeding to the next step.
Step 5: Attaching Gate Panels:
If using pre-made gate panels, attach them to the gate posts using hinges. Ensure the panels are level and evenly spaced. If building the gate yourself, assemble the panels and then attach them to the posts.
Step 6: Installing Gate Hardware:
Attach the gate hardware, including hinges and a latch, following the manufacturer's instructions. Use a carpenter's square to ensure proper alignment. Test the gate to ensure it swings smoothly.
Step 7: Finishing Touches:
Apply a weather-resistant sealant or paint to protect the wood from the elements. This step not only enhances the gate's appearance but also extends its lifespan.
Step 8: Regular Maintenance:
To keep your wood gate looking and functioning its best, perform regular maintenance. Inspect for any signs of wear, and touch up the finish as needed. Lubricate hinges and latch components to prevent rust.
Conclusion:
Installing a wood gate can be a satisfying project that adds both beauty and functionality to your property. By carefully planning, using quality materials, and following these step-by-step instructions, you can create a durable and attractive wooden gate that enhances your home's overall appeal. Remember to prioritize safety during the installation process and enjoy the benefits of your newly installed wood gate for years to come.
For more details, visit us :
Professional Railing Install Service in Los Angeles
Decks Installation Contractors in Los Angeles
Fence Installation Services in Los Angeles
Professional Gate Installation in Los Angeles


Comments