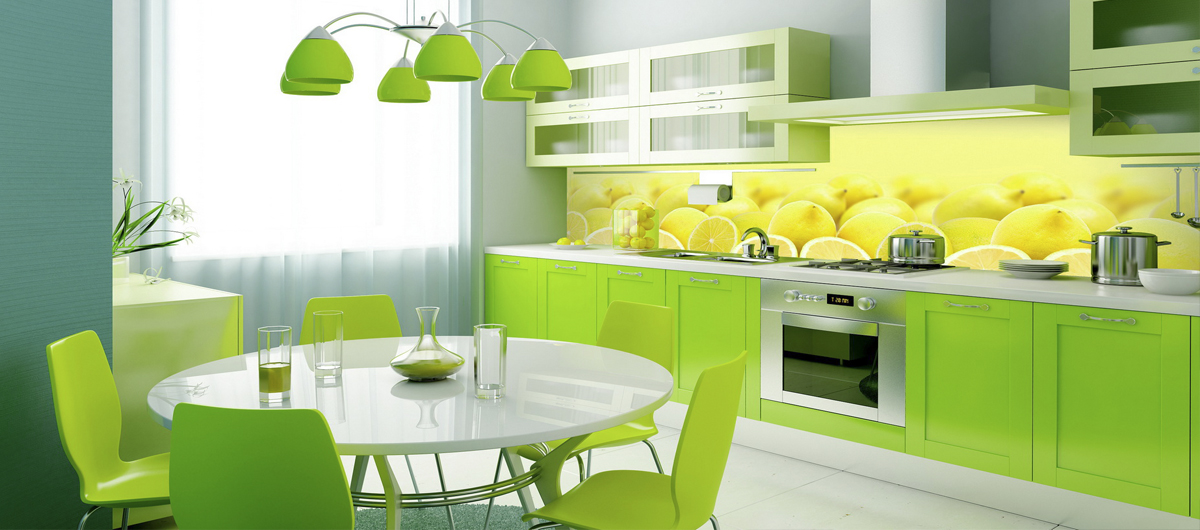
A kitchen backsplash is more than just a protective barrier for your walls. It’s a design element that can transform your kitchen, adding color, texture, and personality. Whether you’re remodeling your entire kitchen or just looking to update its look, installing a new backsplash is a project that can make a significant impact without breaking the bank. Here's a comprehensive guide to kitchen backsplash installation.
Choosing Your Backsplash Material
The first step in your backsplash project is selecting the right material. There are numerous options available, each with its own set of benefits:
Ceramic and Porcelain Tiles: These are popular choices due to their affordability, ease of cleaning, and wide range of styles and colors.
Glass Tiles: These provide a modern, sleek look and are available in various colors and finishes. They can make a small kitchen feel larger and brighter.
Natural Stone: Materials like marble, granite, and travertine add a luxurious touch to your kitchen. However, they require more maintenance and can be more expensive.
Metal Tiles: Stainless steel, copper, and aluminum backsplashes are durable and add an industrial vibe to your kitchen.
Peel-and-Stick Tiles: These are a great option for DIY enthusiasts or renters. They’re easy to install and remove, though they may not be as durable as other materials.
Preparing Your Workspace
Before you start the installation process, you need to prepare your workspace. Clear the countertops, remove any outlet covers, and make sure the wall surface is clean, dry, and smooth. If the wall has any imperfections, sand them down or fill them in to ensure the tiles adhere properly.
Measuring and Planning
Accurate measurements are crucial for a successful backsplash installation. Measure the area you plan to cover, accounting for any outlets or windows. Plan your tile layout by dry-fitting the tiles on the countertop to see how they will look on the wall. This will help you determine the best starting point and avoid small slivers of tiles at the edges.
Cutting the Tiles
Cutting tiles to fit around outlets, windows, or edges is often the most challenging part of the installation process. Use a tile cutter or wet saw for clean, precise cuts. Measure and mark the tiles carefully before cutting to ensure they fit perfectly into your layout.
Applying Adhesive
For most tile installations, a thin-set mortar is the adhesive of choice. Apply the mortar to the wall using a notched trowel, working in small sections to prevent it from drying out before you can place the tiles. Press each tile firmly into the mortar, using spacers to maintain consistent gaps between them.
Installing the Tiles
Start installing the tiles from the bottom center of the wall and work your way outwards. This ensures that any cut tiles are at the edges, where they are less noticeable. Check your work frequently with a level to ensure the tiles are straight and even.
Grouting and Finishing
Once the tiles are set and the adhesive has dried (usually 24 hours), it’s time to apply the grout. Mix the grout according to the manufacturer’s instructions and apply it with a grout float, pressing it into the spaces between the tiles. Wipe away excess grout with a damp sponge, being careful not to remove too much from the joints. After the grout has cured, apply a grout sealer to protect it from stains and moisture.
Final Touches
Replace the outlet covers, caulk the edges where the backsplash meets the countertop and cabinets, and clean the tiles thoroughly. Step back and admire your handiwork—your Kitchen Backsplash Installation Service now has a fresh, new look!


Comments