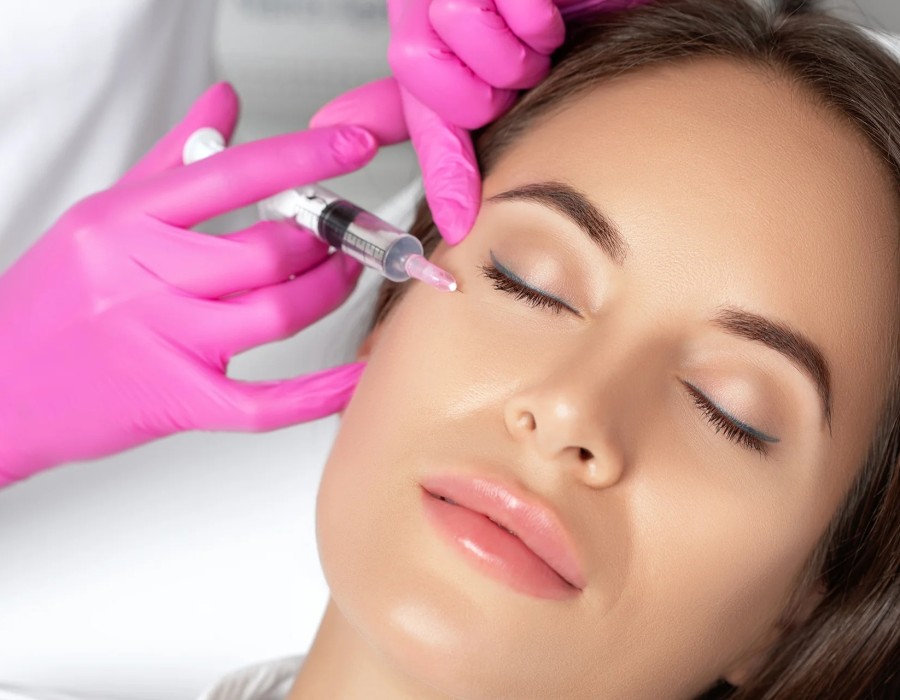
Preparing for a dermal filler appointment is an essential step to ensure a smooth and successful treatment. Whether you are new to cosmetic procedures or have had fillers before, knowing how to prepare can enhance your overall experience. This article provides comprehensive guidance on preparing for your Dermal Fillers Injections In Dubai.
Understanding Dermal Fillers
Before diving into preparation tips, it's essential to understand what dermal fillers are and how they work. Dermal fillers are injectable substances designed to restore volume, smooth wrinkles, and enhance facial contours. They are commonly made from materials like hyaluronic acid, which naturally occurs in the body, providing hydration and plumpness to the skin.
Benefits of Dermal Fillers
- Immediate Results: Dermal fillers provide instant volume and rejuvenation to the treated areas.
- Minimally Invasive: The treatment requires minimal downtime, allowing patients to resume daily activities quickly.
- Customizable: Fillers can be tailored to individual needs, targeting specific areas for a personalized appearance.

Steps to Prepare for Your Appointment
Proper preparation can significantly impact the outcome of your treatment. Here are key steps to take before your dermal filler appointment:
1. Research and Choose a Qualified Practitioner
Finding a skilled practitioner is crucial for achieving the desired results safely. Research potential practitioners in Dubai by reading reviews and checking their qualifications. Look for professionals with experience in administering dermal fillers and a strong reputation in the community.
2. Schedule a Consultation
Before your appointment, schedule a consultation with your chosen practitioner. This meeting allows you to discuss your aesthetic goals, ask questions, and address any concerns you may have. During the consultation, the practitioner will assess your facial structure and recommend suitable filler options based on your needs.
3. Prepare a List of Questions
Prepare a list of questions to ask during your consultation. Common inquiries might include:
- What type of filler do you recommend for my specific concerns?
- How long can I expect the results to last?
- What side effects should I be aware of?
- What aftercare should I follow post-treatment?
4. Avoid Certain Medications and Substances
To minimize the risk of bruising and swelling, it’s advisable to avoid certain medications and substances in the days leading up to your appointment:
- Blood Thinners: Avoid aspirin, ibuprofen, and other non-steroidal anti-inflammatory drugs (NSAIDs) for at least a week before your appointment.
- Alcohol: Refrain from consuming alcohol for 24-48 hours prior to your treatment, as it can increase the risk of swelling and bruising.
- Herbal Supplements: Some herbal supplements, such as fish oil and vitamin E, may also thin the blood and should be avoided before the procedure.
5. Stay Hydrated
Drinking plenty of water leading up to your appointment can help keep your skin hydrated and plump. Hydrated skin can enhance the effects of the filler and contribute to a more youthful appearance.
6. Avoid Facials and Other Treatments
Refrain from undergoing facials, chemical peels, or laser treatments for at least one week before your filler appointment. These treatments can irritate the skin and may increase the risk of complications during the injection process.
7. Arrive with Clean Skin
On the day of your appointment, arrive with clean, makeup-free skin. This ensures that the treatment area is free from any products that could interfere with the injections and helps maintain hygiene during the procedure.
What to Expect During Your Appointment
Understanding what happens during the appointment can help ease any anxiety you may have. Here's a brief overview of the process:
1. Consultation and Assessment
Upon arrival, the practitioner will review your medical history and discuss your goals once again. They may take photos for your medical records and to monitor results.
2. Preparation of the Treatment Area
The practitioner will clean the treatment area and may apply a topical anesthetic to minimize discomfort during the injections.
3. Injection Process
The filler will be injected into targeted areas using a fine needle. The procedure typically takes less than an hour, depending on the number of areas being treated.
4. Post-Treatment Instructions
After the injections, the practitioner will provide aftercare instructions to ensure optimal results. This may include advice on avoiding certain activities and using cold compresses to minimize swelling.
Conclusion
Preparing for your dermal filler appointment in Dubai is an important step towards achieving your desired results. By following these preparation tips, you can enhance your experience and ensure a successful treatment. Remember to communicate openly with your practitioner about your goals and concerns, and enjoy the journey to a more youthful and rejuvenated appearance. With the right preparation, dermal fillers can help you achieve the look you desire and boost your confidence.


Comments